Saturday, November 14, 2009

Stone Soup


We read the story ‘Stone soup’ and then made some of our own using leftover veggies from our Organic Produce delivery. Levi loves soup, it’s a good way to get him to eat veggies he wouldn’t otherwise eat!

Using a Garlic Press


This activity teaches the child to do things in order (if they don’t pour the water on first, the sponges won't wring out, put it in the wrong bowl and they end up wet again!), teaches fine motor skills, and hopefully they lean to clean up!


Materials:
3 small bowls
1 small cup of water
garlic press – the basic kind is best
sponge cut into small squares that fit into the garlic press
tray w/towel on it to catch spills

What to do:
Demonstrate the procedure while the child watches, and then let them try!

Set up the tray with the towel in the bottom, 2 empty bowls, 1 bowl w/sponges in it, the garlic press and small cup of water.
the child pours the water onto the sponges
Take one sponge, put it into the press and squeeze the water into one of the empty bowls.
take the now dry sponge out and put it into the second empty bowl
Repeat until all of the sponges are dry. The water in the bowl can now be poured over the dry sponges and the process started again.
When finished, have the child put all the pieces of the activity back and clean up any spills.

Levi loves this activity and will spend forever on it, most of the time he is careful about his spills, but when he starts goofing around, its time to clean up and move on.

Crayon Rocks


We ordered some crayon rocks from a co-op (thanks Lianne!). Because of their shape, these are supposed to help kids develop the correct technique for holding a writing utensil, plus they are fun to colour with!

Little nature explorers


We tried out a ‘little nature explorers’ class at a new community center that no one knew existed.

They had the kids try and find a bird (they didn't see one), but they did find bugs, ants, coots, sticks and an interesting stain on the sidewalk. They had a good time, and it was a good activity to do outside sense it wasn’t so hot!
They did have a nice playground that is well away from the road, so maybe next time we will bring a picnic and hang out afterwards.

Friday, November 13, 2009

Heads and Butts matching game, and Introducing the Montessori mat


In Montessori, children use a rug to define their space during activities. It helps to keep the activity contained, and allows the child to focus on one activity at a time.

I chose a lightweight mat that Levi could carry on his own, that was also easy to roll up. I started by brining the mat to the workspace and unrolling it. Next, an activity is chosen and brought to the mat. Once it is complete, all of the pieces are put back on the tray, and it is returned to the shelf. When ‘school time’ is over, the mat is rolled back up and put away.


The following activity is one of the first that Levi tried on the mat. He was careful not to let any of his cards escape from his defined area.


Materials needed:
Pictures of animals, all the same size, cut in half so their heads are on one side, and the back end is on the other – it’s a good idea to laminate these, which I haven’t done yet!

What to do:

Sort the cards and lay out all of the ‘butts’ on the mat with space in-between each one.
Have the child use one ‘head’ card at a time to make matching pairs.

You can start with any number of sets, you may want to start with just a few and move on to more sets. Once they get the hang of it, you can just give them all of the cards mixed up and let them lay them out themselves.
This game can be made with other themes as well, using anything that has 2 identifiable halves.

Pumpkins - a sensory experience


Sensory activities encourage exploration, and pumpkin guts are a great sensory experience!

Levi was totally grossed out (see the pic for the face he made!) when we first opened the pumpkin, he didn't know what to think of the mess he discovered inside. At first he was reluctant to touch anything, and just used a spoon to scoop the seeds out (which we later toasted, and are still eating them!). Later he decided it would be fun to ‘jump in guts’, but he never did want to use his hands.


He also smelled the pumpkin - 'it smells yucky!' according to Levi.


And later he tasted the pumpkin, one was cooked and made into pumpkin muffins - those he loved!


Halloween Ghosts

Materials:
kid friendly paint - I put it in empty elmers glue bottles, you could also put it in bowls and use a spoon to put it on the paper
paper - in this case we used dark colors
google eyes, glitter or other decoration

What to do:
1. Fold paper in half
2. drizzle paint all over - you can do more than one color too!
3. fold in half along the previous fold line, smush and rub with your hands
4. Open to see your creation! Add other decorations if you want!


This activity doesnt have to be ghost themed, you can use any colors of paint/paper you want.

Levi and I also made some of these in halloween colors, then when the paper was dry we cut it into strips to make garlands. It would also make great wrapping paper in holiday colors, or even thank you cards.

First 'sample' meeting


At our first meeting, I planned all of the activities just to give everyone an idea as to how things could work.

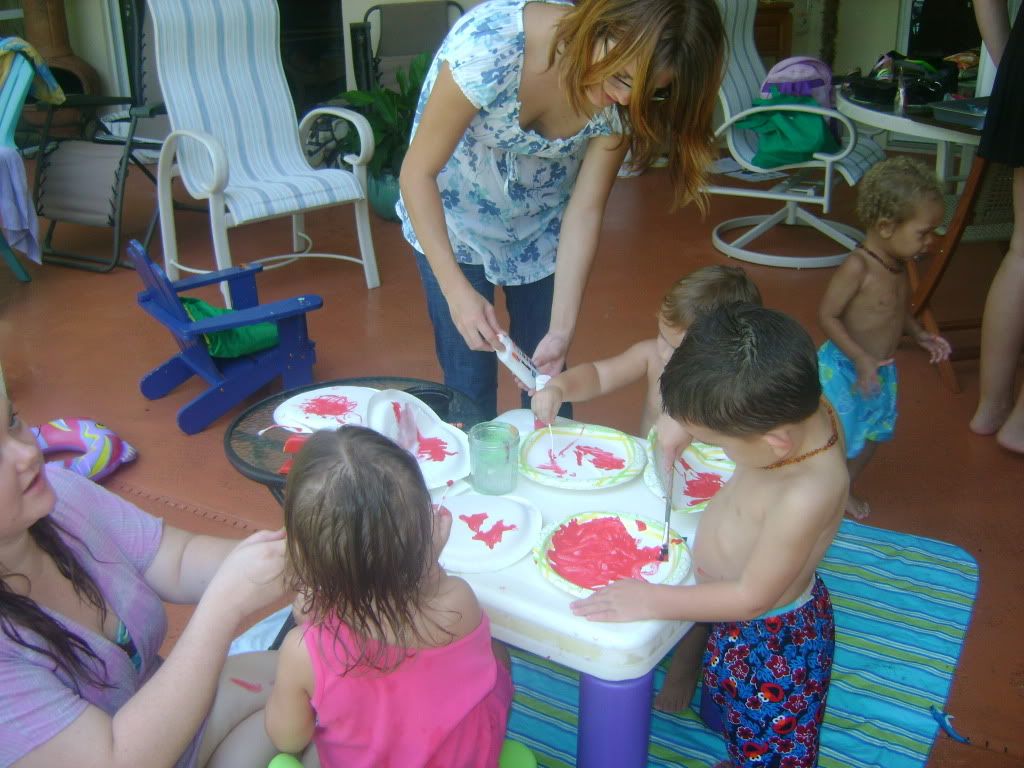
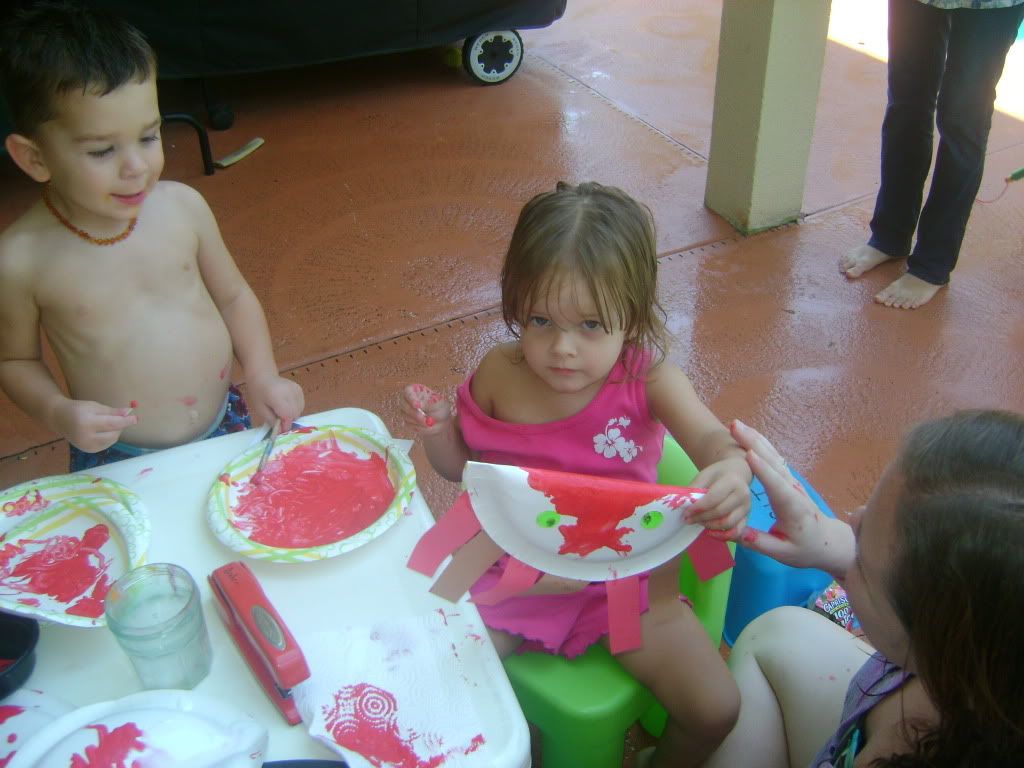
This one is a ‘crab craft’ project:

Materials:
Paper plates
Red or orange paint/paintbrushes
Pre-cut strips of paper (legs)
Google eyes or round stickers (eyes)
Stapler
White Glue (I put this in a small paper cup w/a popsicle stick, this makes it easy for the kids to spread)

What to do:
1. fold paper plate in half
2. paint the outside (back of plate)
3. glue legs to the inside (top) of the plate, on one half – 4 legs on each side
4. fold again and staple shut
5. add eyes


Other activites included:
'the fishing game' with magnetic fishing poles/paper fish, the kids counted the fish as they caught them.
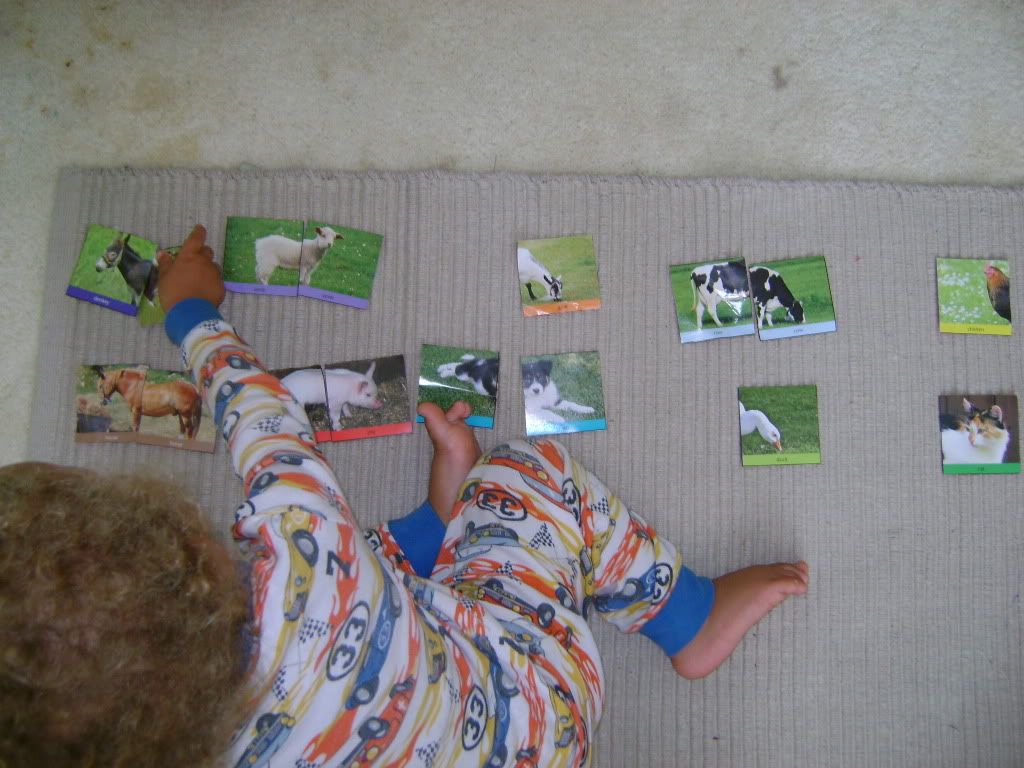
Rice box - colored rice with sea animals hidden inside, the kids found the animals and matches them to pictures of real sea animals, they LOVED playing in the rice, it was almost worth the mess it made!

We also always have lots of books for the kids to look at!

Brevard Natural Mom's Homeschool co-op Intro

Brevard Natural Moms is a group of moms with similar parenting styles. Many of us have little ones around the same age so we decided to start the BNM Homeschool co-op to share ideas for learning activities, and have some more structured/education based play dates. All of the children love to learn, and its more fun to do it with friends!

We have started with the idea to choose a theme, the first one being ‘Ocean Life’, as a jumping off point for planning activities. At each meeting, each mom participating is responsible for brining one activity based on the theme with enough supplies for all the children to participate.

We present the activities to the kids and let them try things out and explore at their own pace. This way everything can be adjusted to fit each child’s abilities and interests – sometimes they don’t want to try something, and that’s ok! Some kids need more or less help than others. Some will want to do one activity the whole time, and some want to try everything. Its all child-led, with guidance from all of the mom’s so that the kids can learn each in there own way and have fun doing it.

This blog was started so that everyone can stay updated on the activities we are doing (with kids, its inevitable that not everyone can make it to each meeting!). I am also adding activities I am doing at home with my son Levi.

We are just getting started, and I'm excited to see how things progress!