Showing posts with label arts and crafts. Show all posts

Tuesday, January 18, 2011

Lowes/Home Depot Kids Program


Both Lowes and Home Depot have kids programs on Saturday mornings. Kids are given an apron, safety goggles, a kids size hammer and a kit to make a wooden toy. They hammer it together, and add stickers to decorate. When they finish a project, they get a certificate to take home and a badge to glue onto their apron.

Kids get to use real tools to create a cool project, all while following directions provided (with pictures for non-readers!), following safety rules (watch where that hammer is going!), and using fine motor skills (to pick up those tiny pieces). The constant hammering is a little annoying to listen to, so get grandpa to take them if at all possible!

Bonus: Its free!

(see what I mean about the noise level in there!?)

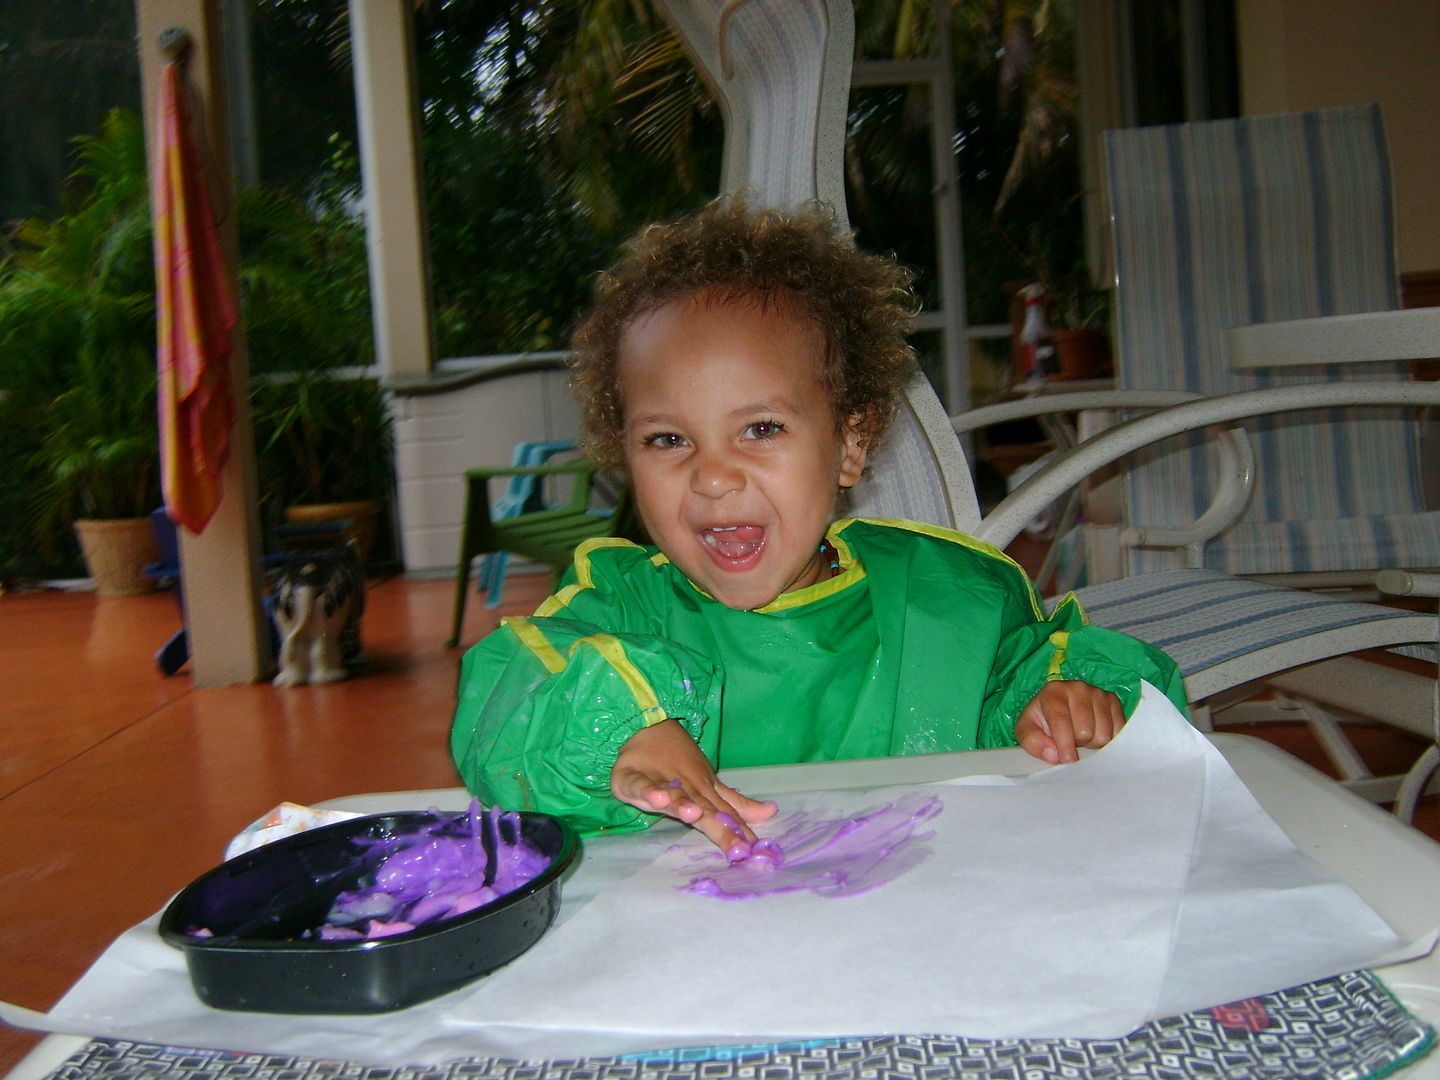
Puffy Paint


Mix shaving cream with a glob of elmer's glue to make puffy paint. It dries too (takes a while). You can add a little paint or food coloring to it to color it, or leave it white and use colored paper. Try practicing writing letters, or just smush it. It has a really unique texture.

Bonus: its easy to clean up!

Thanksgiving


Pilgram hat:

1. Cut a large rectangle strip long enough to fit around the child's head, staple it into a loop. Make snips all the way around at the bottom of the hat.
2. Trace the resulting circle shape. Draw a circle 3" bigger than this on the outside.
3. Cut out along the outer circle and inner circle (you now have a ring).
4. Apply glue to the tabs created in step 1, and attach the hat band to the brim.
5. Make a buckle by cutting out a rectangle, fold in half and cut a small rectangle out of it. Glue it on.
6. wear it!


Monday, September 20, 2010

Paper Mache

Paper mache recipe:

1 part cornstarch
3+ parts water

boil until glue like consistency. It will continue to thicken as it cools, so stir often and add more water as needed.

DSC04423.jpg paper mache picture by leighi123

Tuesday, September 14, 2010

Learning to Sew

Sense I sew myself, Levi wanted to learn. Lucky for him, my sewing machine has a 'sew verrrrry verrrrry slowwwly' setting.

I set up the machine on his little desk, and he was able to make a little (somewhat wonky) beanbag with very little help from me.
Looking forward to teaching him more projects, maybe eventually he can help me with my sewing projects!

DSC04211.jpg holding it up image by leighi123DSC04210.jpg proud of his beanbag image by leighi123

Videos:
http://s169.photobucket.com/albums/u218/leighi123/baby/June%202010/?action=view&current=MOV04206.mp4

http://s169.photobucket.com/albums/u218/leighi123/baby/June%202010/?action=view&current=MOV04207.mp4


Tuesday, June 29, 2010

The Letter 'T'

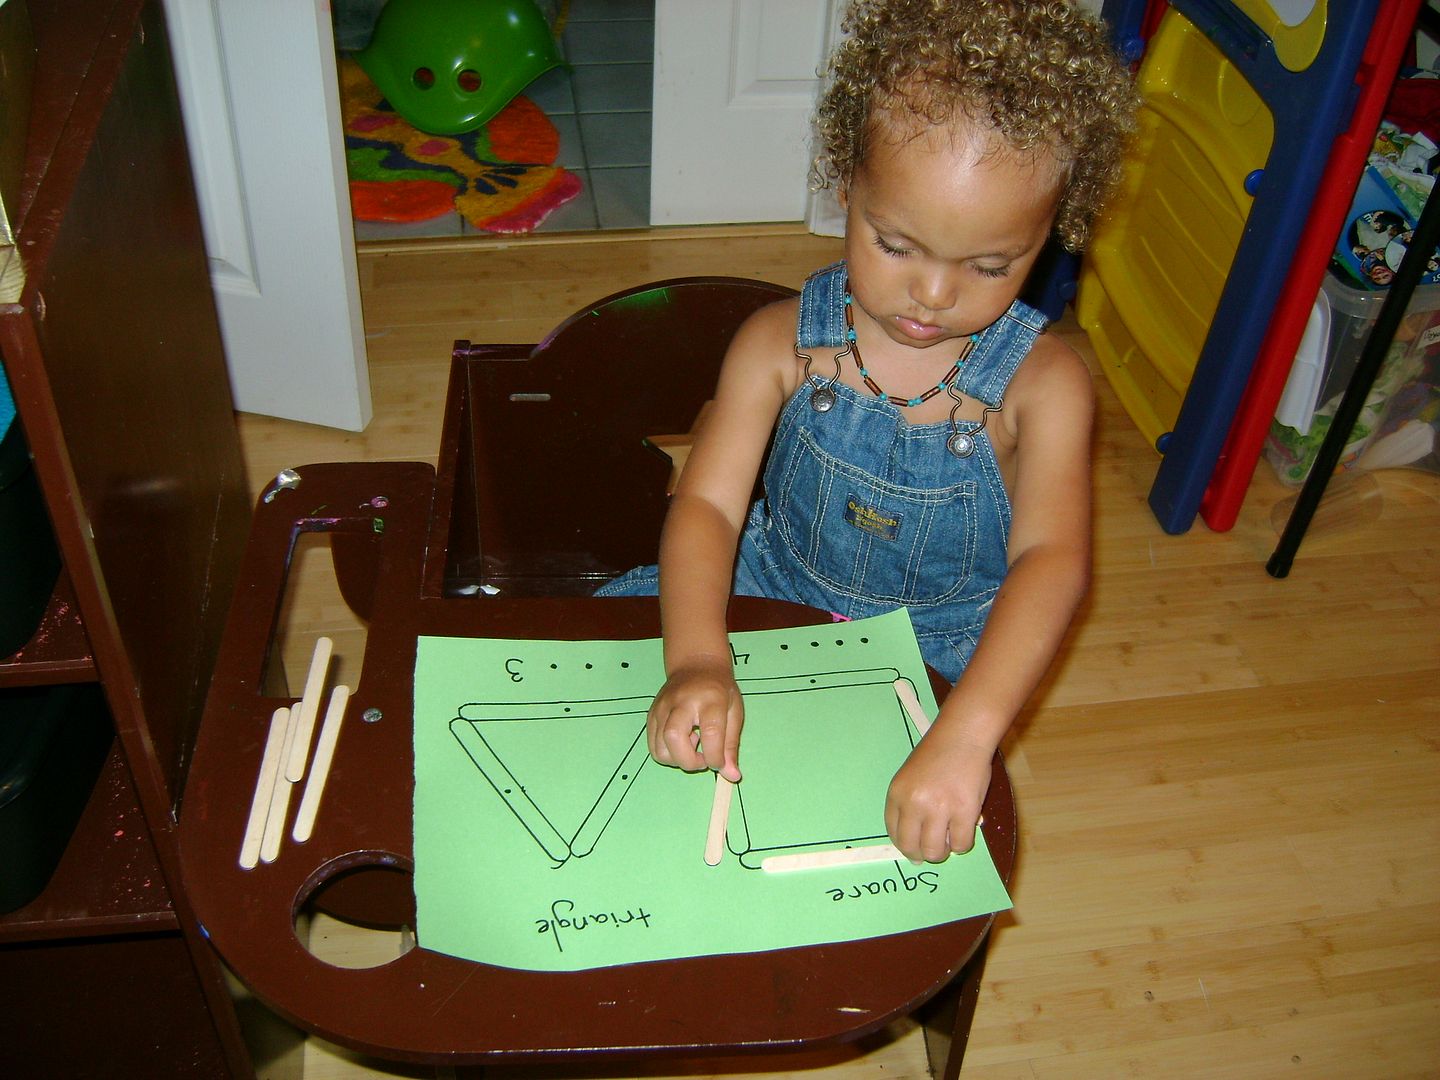
Here Levi is doing a shape activity, I just traced popsicle sticks so he could match them up. We counted corners, and sides and compared the two shapes.
I also did a similar activity where I put colored dots on the end of the popsicle sticks, matching colors would make a shape!
Brushing teeth! We used an old toothbrush to brush 'teeth' to make them white and clean! We talked about WHY it is important to brush your teeth, and how to make sure to brush them all.

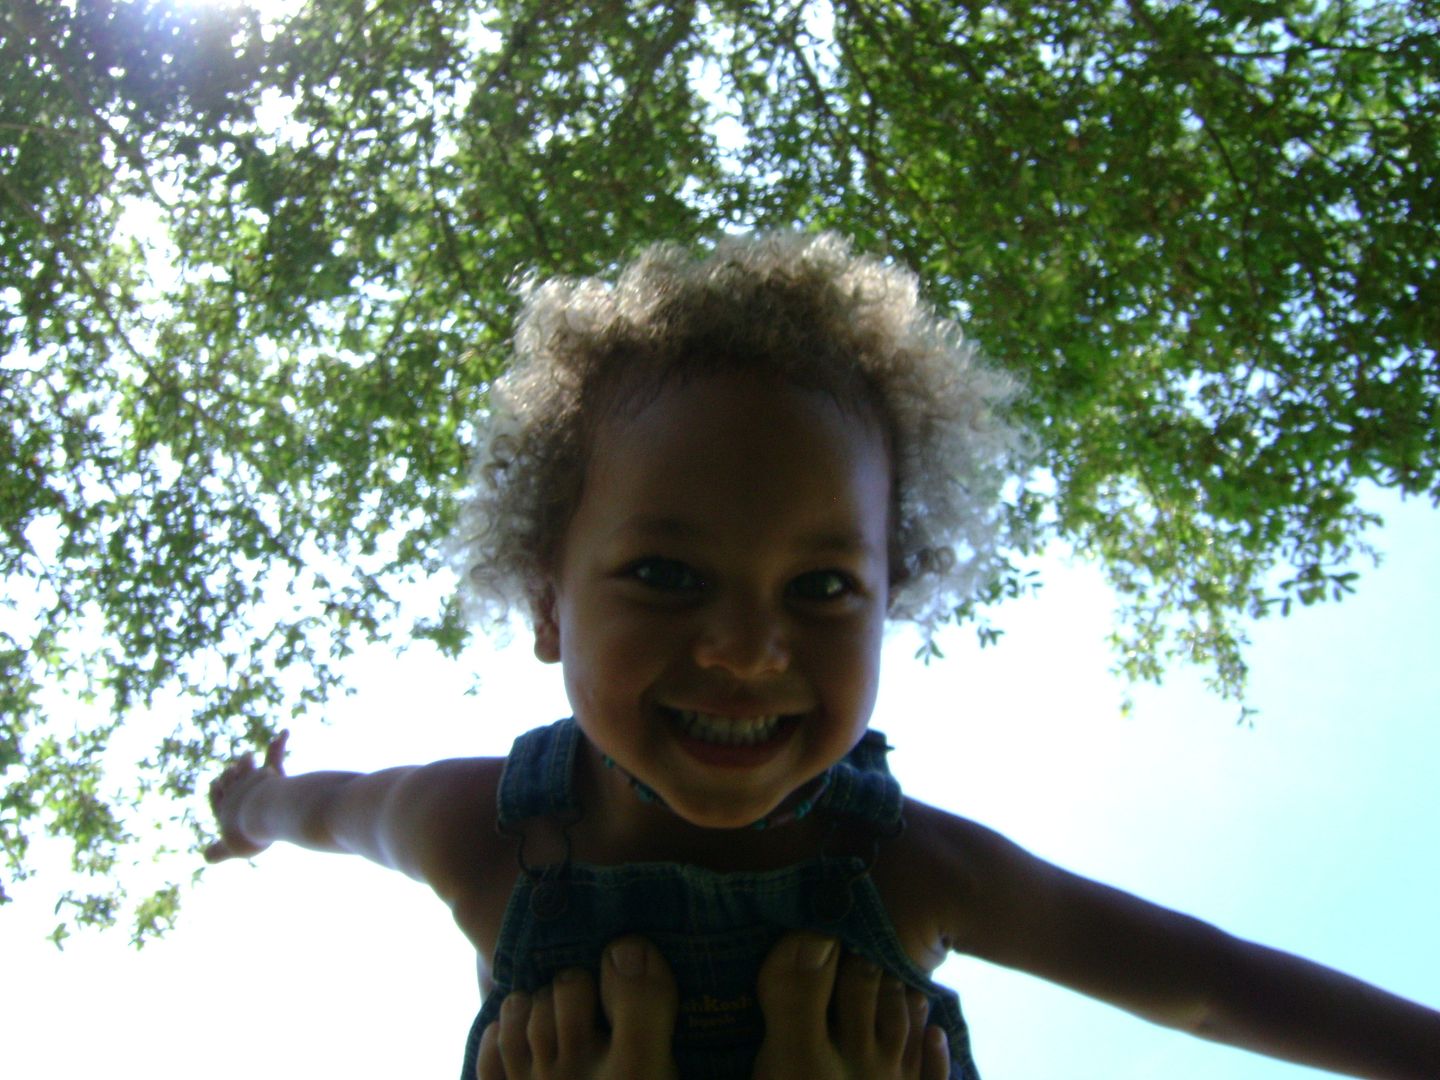
Outdoor time - we looked at all the different trees around our house, did some tree rubbings (which we later made into a little book), and pretended to be a tree!


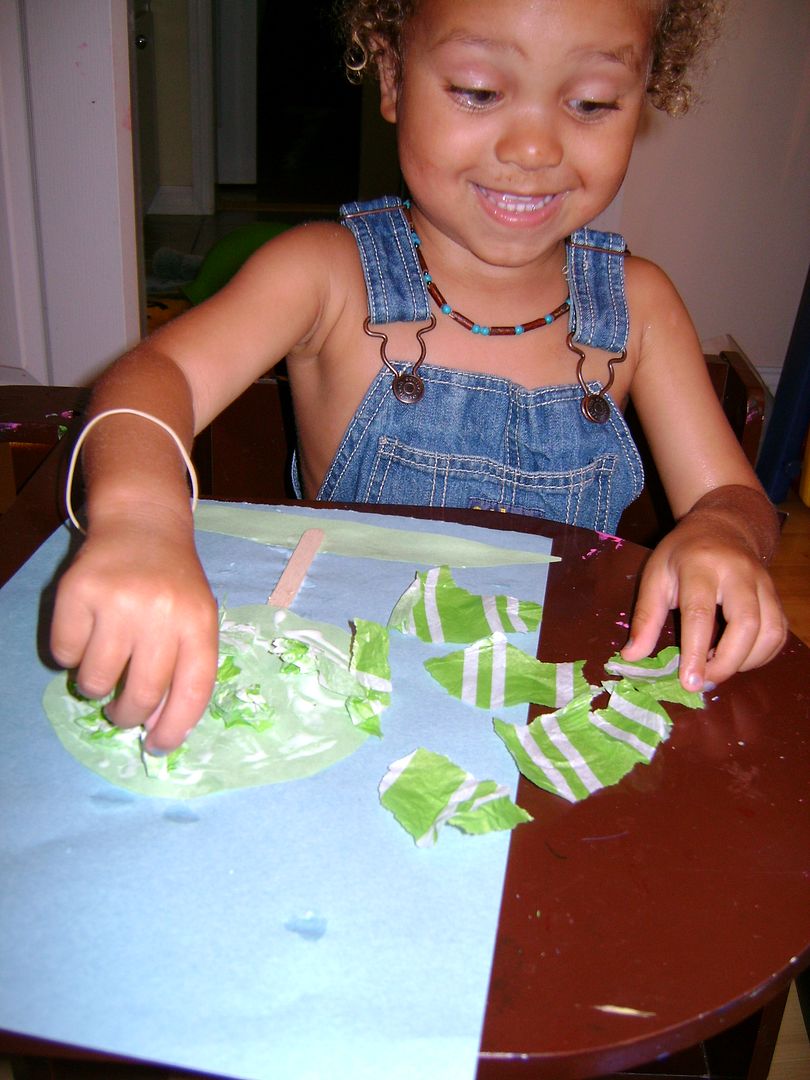
Arts and crafts tree - popsicle stick for the trunk, strip of paper for the grass and crumpled tissue paper for leaves. Discussed the parts of a tree as well (he already knew them though)
Another activity Levi initiated was with his trains. He took my small ironing board and made a ramp to race them down. I found some poker chips that we used to mark where the trains landed, and compared different trains, and then different angles of the ramp. This kept him entertained for a looong time, but because he was using my ironing board I couldnt get much sewing done without it!


T is for:
trees
toes
teeth
ten
tomato
tiger
train
triangle
tractor

Tuesday, June 22, 2010

Mini Garden


We got a little garden kit that came with paints, seeds, little mushrooms/house, fairy, gems and a plastic tray (you could use one of those trays that go under potted plants to catch water). We planted the seeds and, like everything in Florida, they grew very fast.


It was an easy and fun project to make a little fairy garden!


Monday, May 24, 2010

Drawing

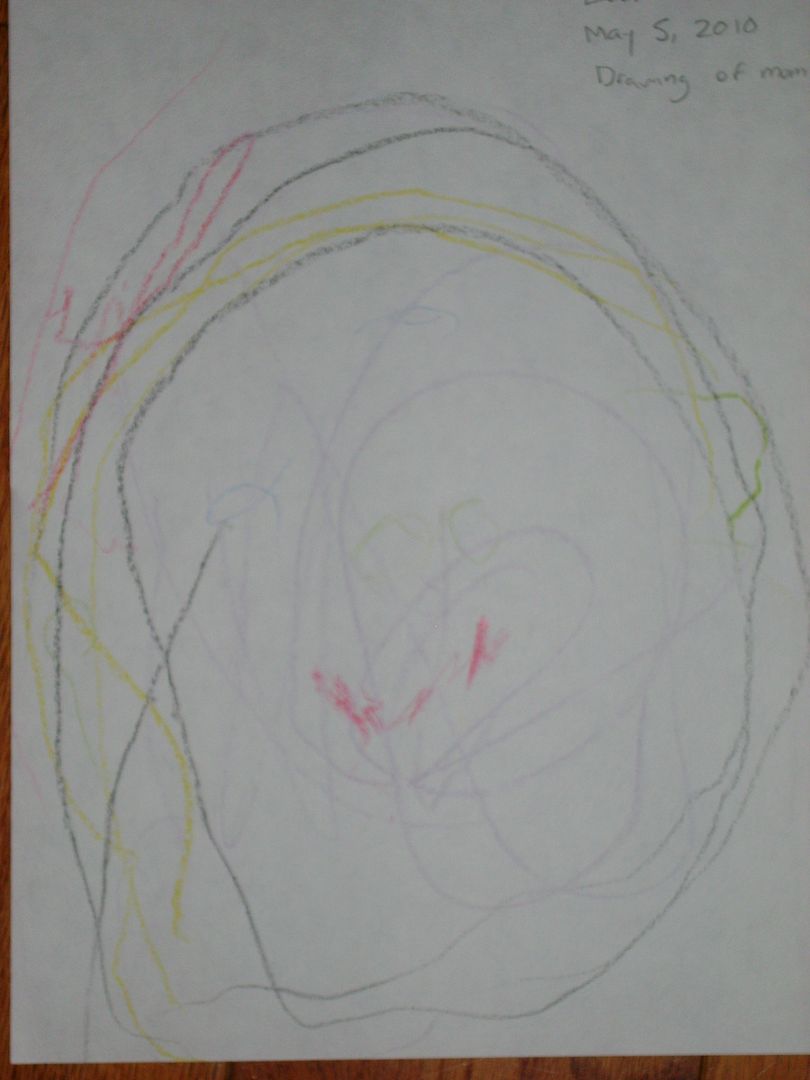
A drawing of ME. The first one that is an actual attempt at making something look like me.

He drew the oval and hair, and told me it was a picture of me. So I sat across from him and asked him what else was on my face. He said 'mouth' and chose red, and added it on. Then "eyes" and drew some eyes with blue (one is on my forehead), and then drew a nose dot.

Afterwards, he wanted to draw himself, so I let him look in the mirror. He got bored of the idea after drawing the oval though, and ended up drawing a bunch of rainbow ovals all over.

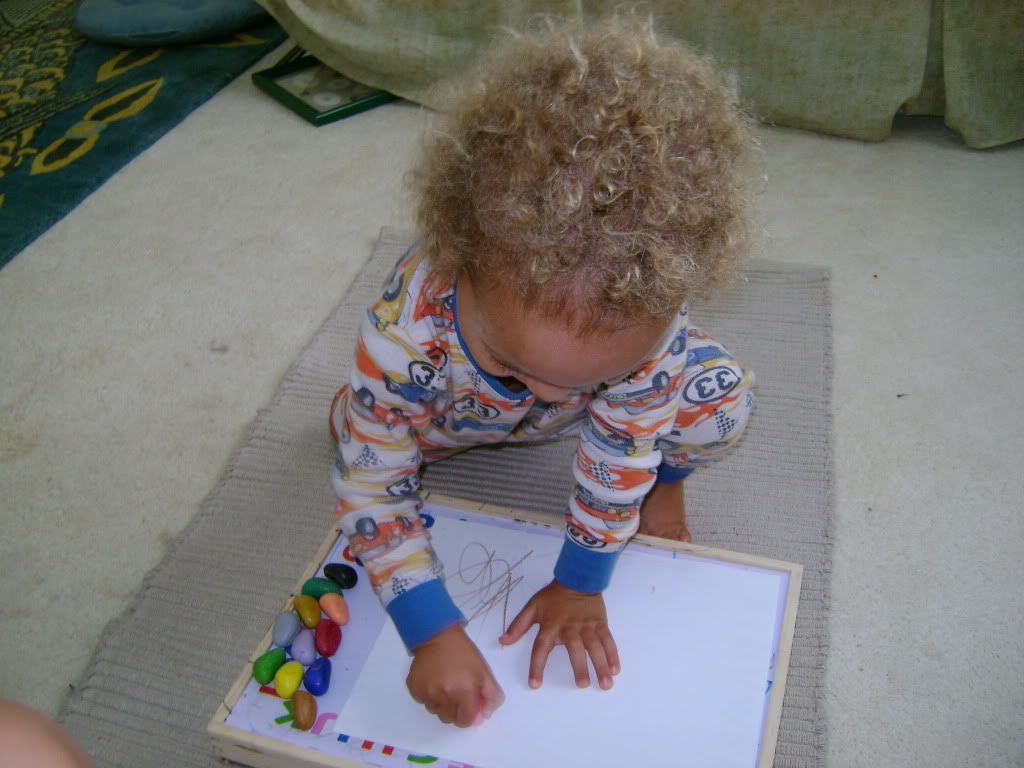
We used crayon rocks for this activity.

Saturday, May 15, 2010

Charlotte's Web - Children's theater

We read the book Charlottes Web, and found out that the Children's theater program at the King Center was putting on the play! So a group of us got tickets and took the kids!


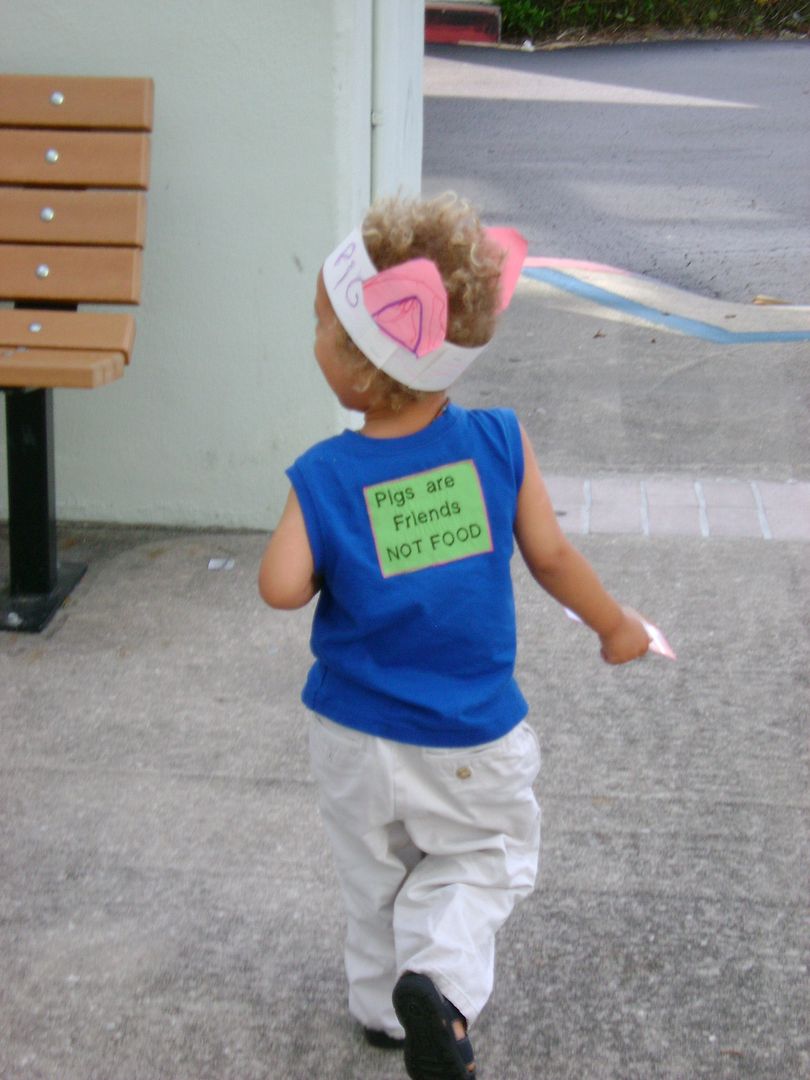
I made Levi this shirt the morning of the show (on the front there is a pig applique with a curly tail!), and he insisted on a matching hat, so I told him to make it! I drew triangles on pink paper for him to color and cut out, and then he traced the words 'Some Pig' on a strip of paper. A little glue and some staples and he had a hat to wear!


This is one of the characters from the show - 'Uncle'

Anna and Levi waiting for the show to start!


Insects


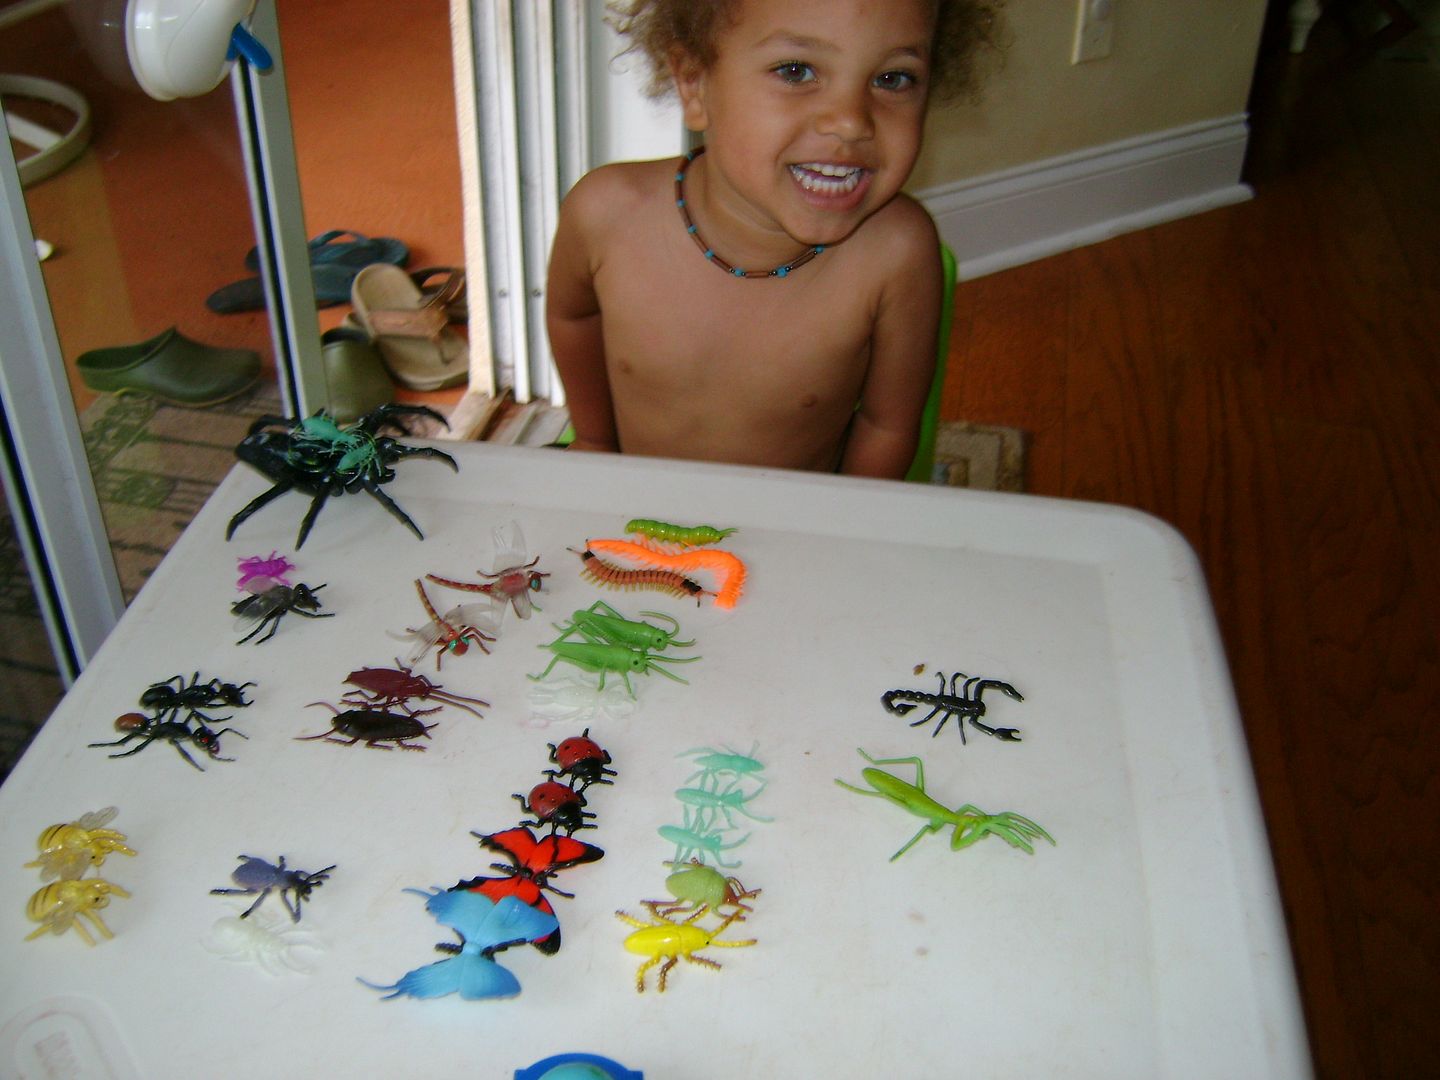
Using the insects 'toob' and some other random plastic insects, we sorted insects into matching pairs. We then sorted by insects that fly, and ones that don't fly. We looked at body parts (antennea, legs, head, thorax, abdomen, wings etc.)


Levi found the tweezers on his own and decided to dump all of the marbles in the tray and then transfer them to the jar. This was difficult because they were slippery from the paint.

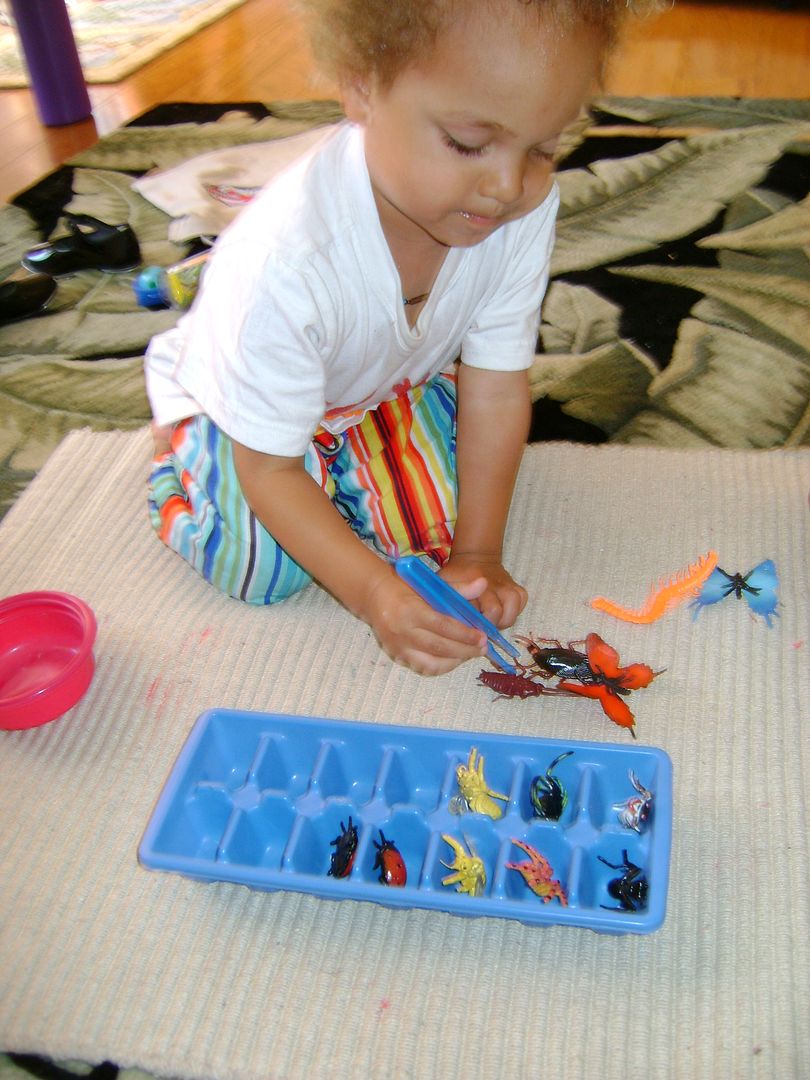
Another sorting activity, this time using tweesers to transfer the insects to the ice cub tray, and carefully putting them side by side. Here he accidently put the last lady bug in the wrong spot, but didn't notice until he had almost filled the tray. Some insects were harder to hold than others.


The tray is lined with paper cut to size (I traced the tray). A couple small globs of paint and marbles to roll around. Sprinkled with a little glitter, and a pompom with googly eyes added in the center, and you have a spider web!


This time Levi is the spider! A few bugs and lengths of string were in the tray, and his task was to wrap up each insect. When he was done, he of course unwrapped them to set them free!
He is also wearing butterfly wings, made at his request to attend a butterfly garden meeting at the library. I just cut foam into a wing shape, and added velcro straps.

Easel

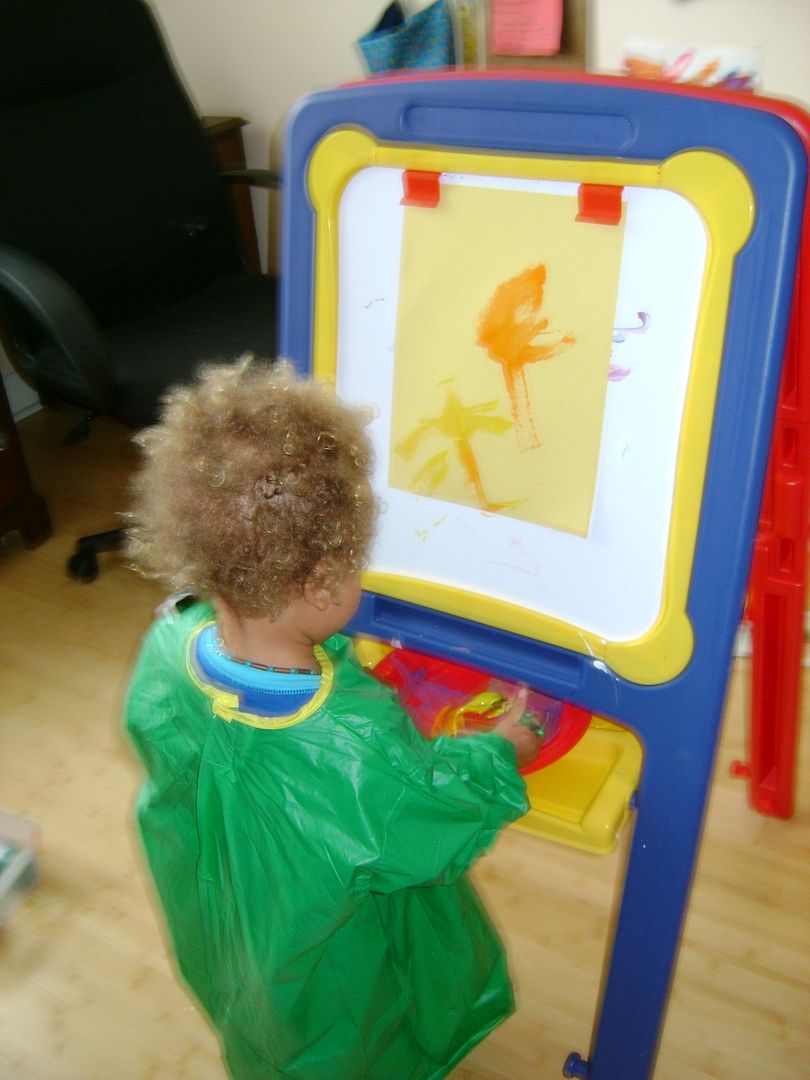
Levi's new easel! Thanks to craigslist! It folds easily so we store it behind the door. The other side is a chalkboard.
I have been giving him two different colors of paint, so Levi can see what happens when colors are mixed. Painting, and drawing on a vertical surface helps develop wrist strength and coordination needed for learning to write.

The Letter S

S is for:
snake
sweep
sleep
sing
sand
sun
star
sorting


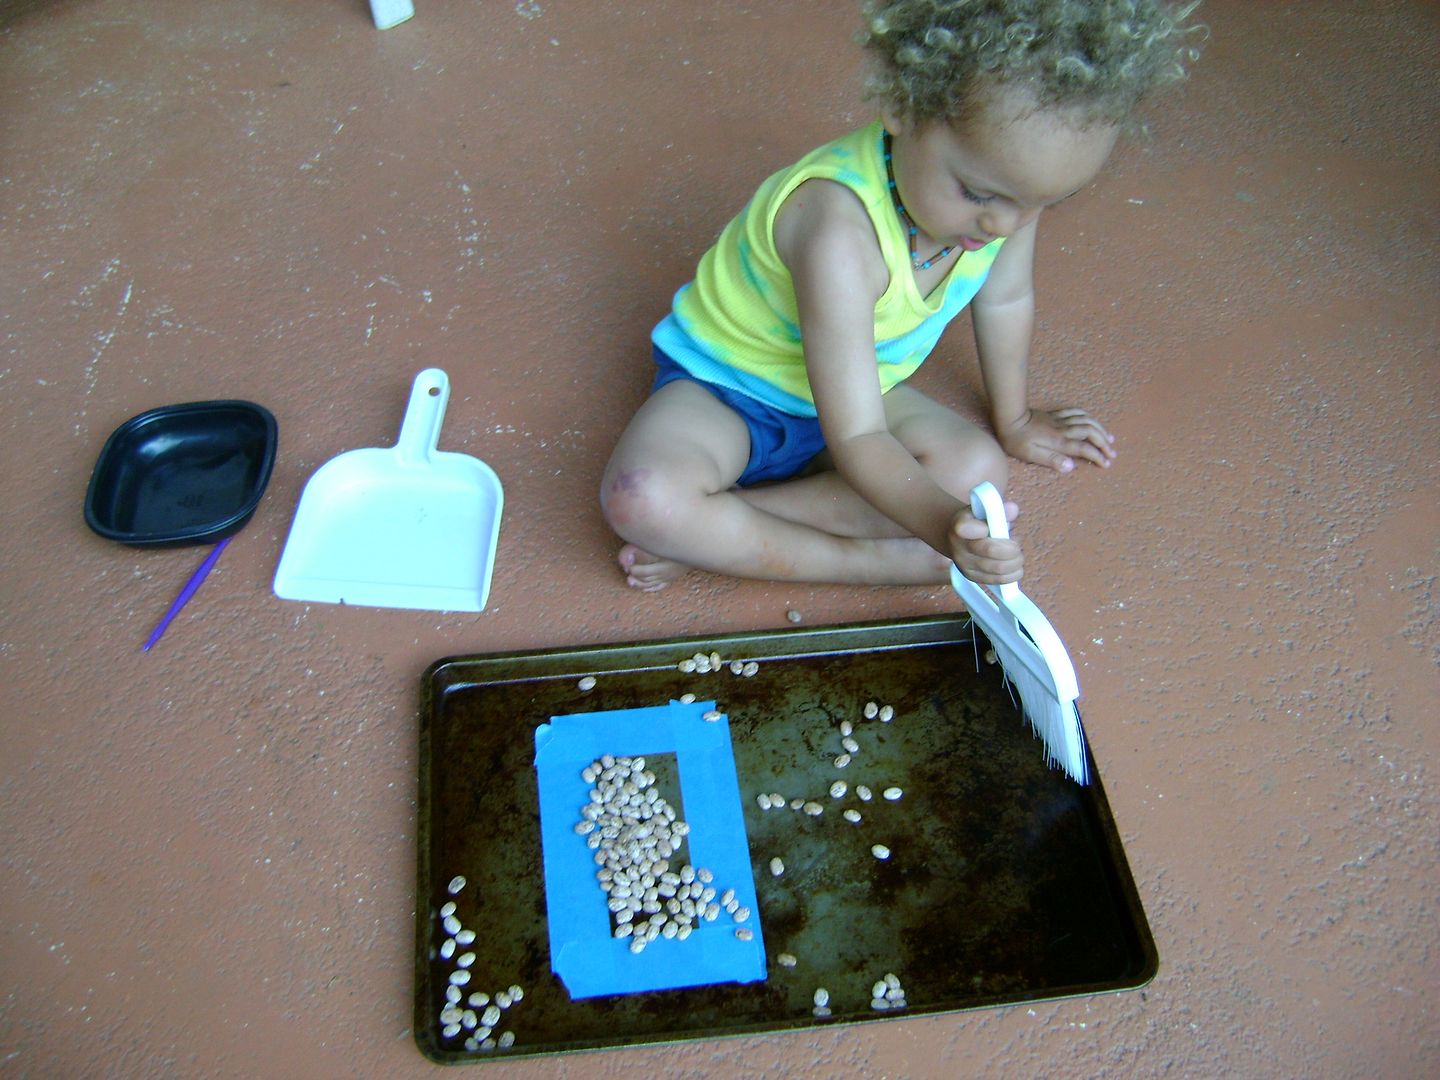
Here Levi is practicing sweeping. He is to sweep the beans into the blue square, and then carefuly pour them into the black container. This is quite a challange!

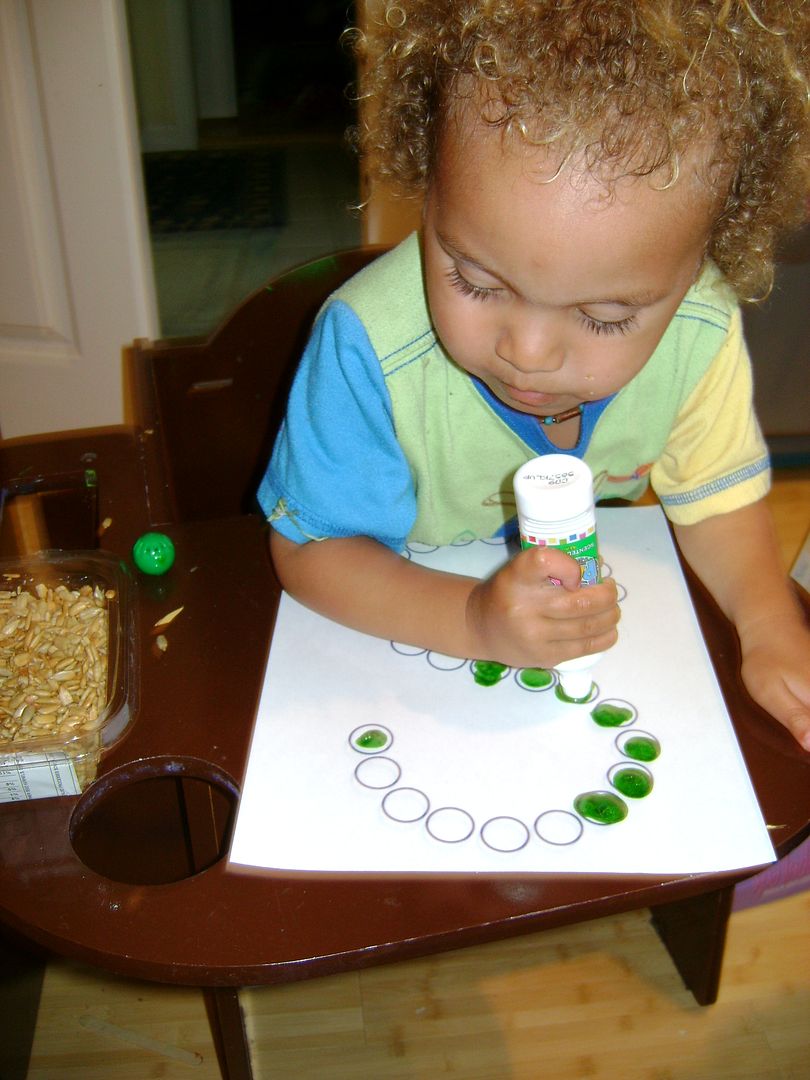
I got Levi some dot markers, and this is the first time he used them. He got the idea right away and compleated the task in a very short time. Next time I am going to try to encourage him to start from the top of the letter and work his way down, because this time he did the middle first, then the top, then the bottom.

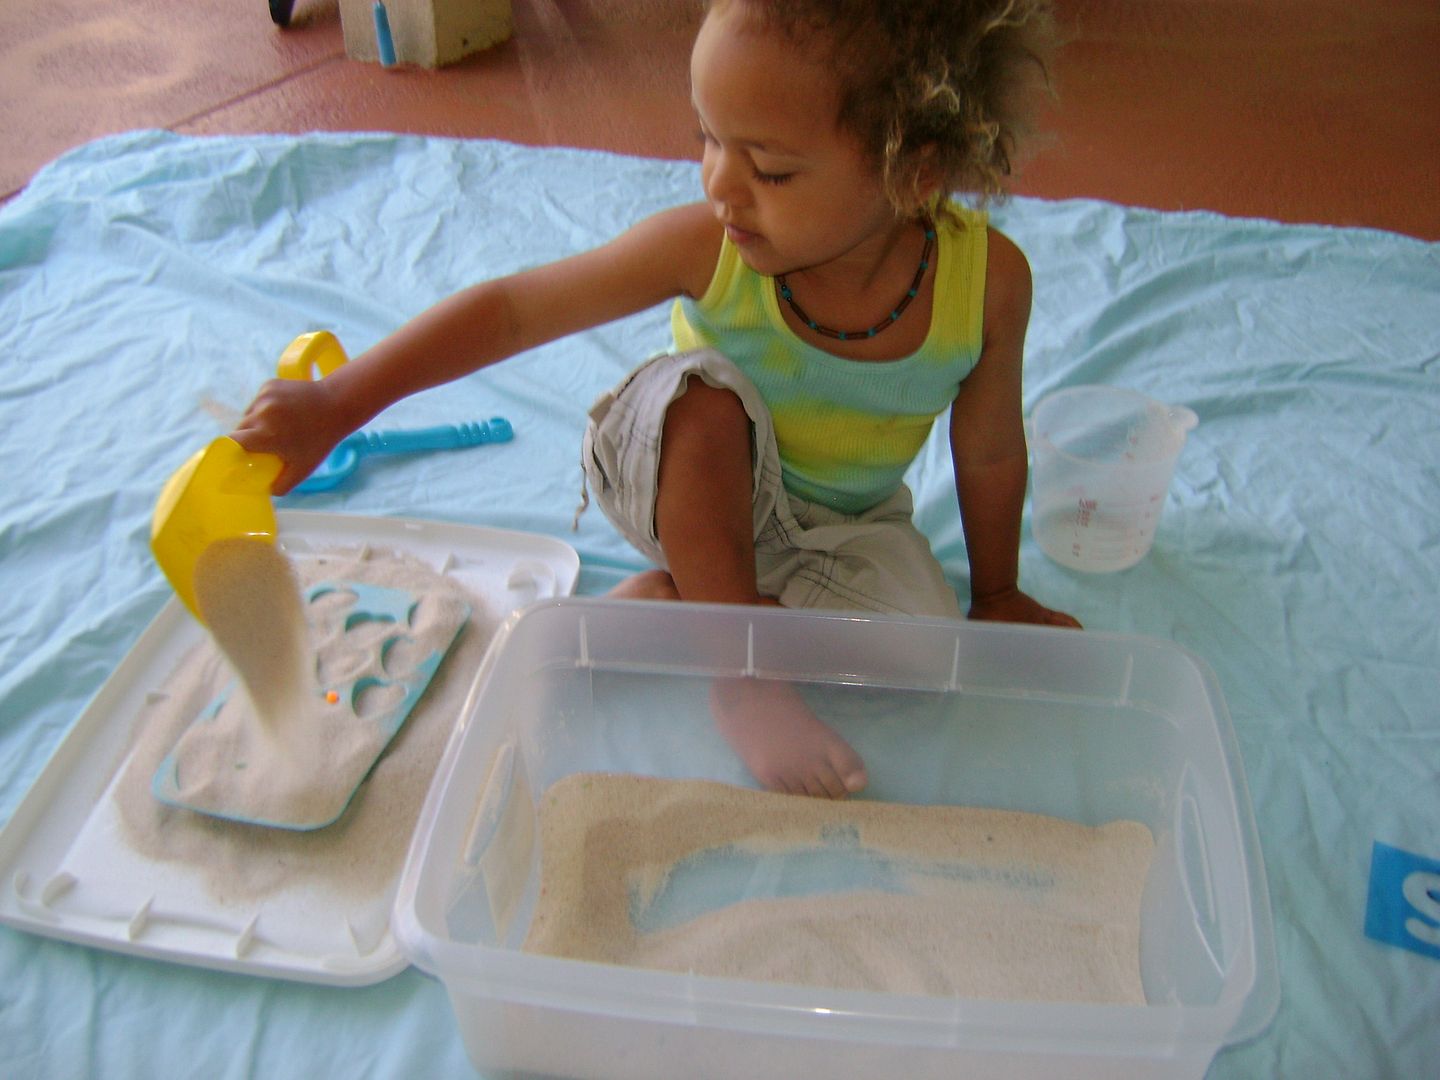
Sand play - here he is filling an ice cube tray with sand. He also has a letter 's' stencil which he used to practice tracing the shape of an 's' in the sand.


This is a snake cutting activity. First he decorated it, and then Levi had to concentrate in order to cut the spiral shape to make his snake. Once cut out, we glued a tounge and googly eyes on where I had drawn the dots, and attached a string to the center for hanging.


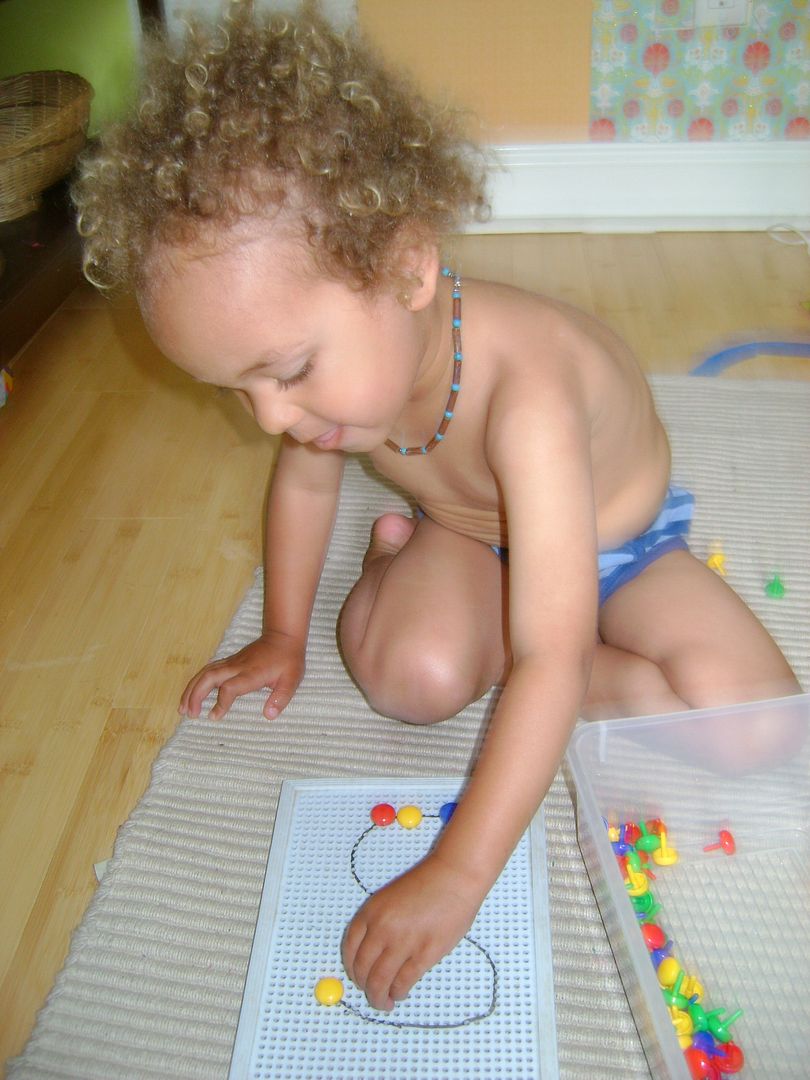
I'm not sure what these pegs are called, but they look similar to thumbtacks only they are plastic. They can be placed into the plastic board which is full of holes. To get them out, you push them from the other side (and it helps to hold it over the storage box so they don't go flying!). I simply drew the letter 'S' onto the board with a whiteboard marker, which wiped off when he was done.
I've had this peg set sense I was a little kid!

Wednesday, April 28, 2010

Finger Paint


Finger Paint
3 cups water
1 cup cornstarch
your choice of coloring (small amount of kid paint, food coloring, koolaid packet)

Mix in a saucpan and cook over medium heat until thick. Add more water if you want to. Add color and allow to cool

Tuesday, January 19, 2010

Painting rocks


Levi is painting some rocks here, its a challange to paint something 3-D. The good news is that rocks are free and there are plenty of them!

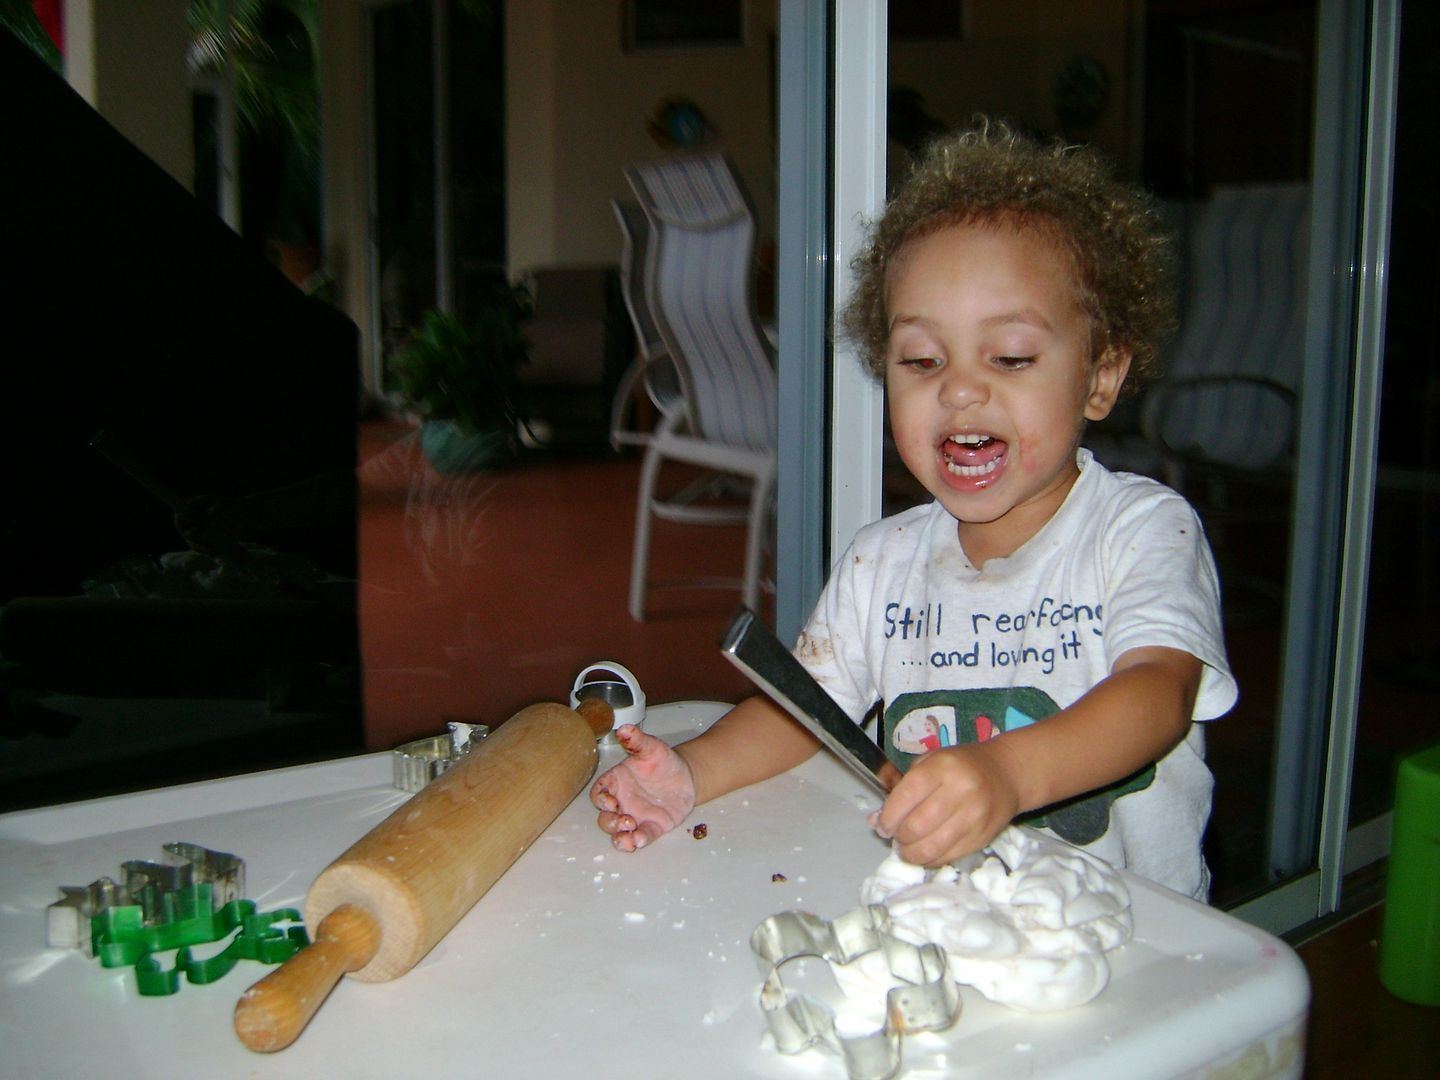
Cornstarch dough


I made my own cornstarch dough because Levi is allergic to coloring, and I think play doh feels kinda gross. This dough has a nice texture to it and doesnt dry out your hands like salty homade playdough can.
I store it in the fridge because of the weather here (to prevent mold!), and it lasts a long time. You can also roll it out and bake it in the oven to make ornaments and things. (low temp for an hour or so). It can be painted once its dry.

Here is the recipie:

2 cups baking soda
1 cup cornstarch
1 1/4 cups water
Food coloring (optional, you can also use powdered tempra paint, or unsweetened koolaid)

Mix baking soda and cornstarch together in a saucepan. Gradually stir in water. Bring to a boil over medium heat, stirring constantly until mixture begins to thicken. Remove from heat while dough is still easy to stir. Do not overcook. Turn out on platter and cover with a damp cloth. When cool enough to handle, knead until smooth, adding water if dough crumbles. If desired, knead in food coloring.

Snowman

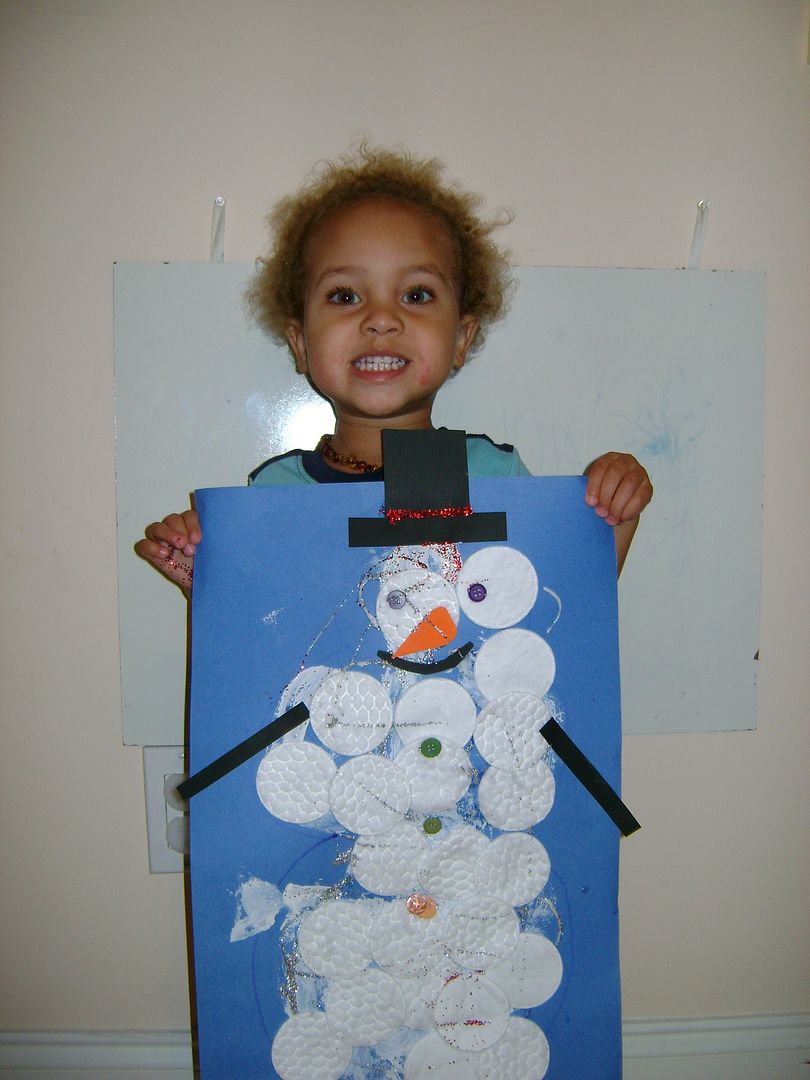
Here is another craft project made with stuff I found in the house: bits of paper and cotton circles. I drew an outline on the page and let Levi use a popsicle stick and glue to stick the cotton on. Then I helped him to add the details. And then we covered all the extra glue (a lot of it) with glitter. As you can see, he was quite proud!

Handprint painting


Use non-toxic kid friendly paint to paint your child's hand, and have them print onto paper. Let it dry and then cut it out and add details (scraps of paper, googly eyes, glitter, decorate with markers....). The finished handprint can be glued to colored paper for a nice background. This one is a turkey which I glued to cardstock, and put a slit in the bottom with another peice of cardstock to make it stand up!

See what other ideas you can come up with... a bunny for easter, a raindeer for christmas, ghosts for halloween, or just a plain ol' handprint for grandma. These make great gifts and can easily be made into holiday cards or thank you cards as well, perfect for little ones who cant yet write but want to make something special!

Saturday, November 14, 2009

Crayon Rocks


We ordered some crayon rocks from a co-op (thanks Lianne!). Because of their shape, these are supposed to help kids develop the correct technique for holding a writing utensil, plus they are fun to colour with!

Friday, November 13, 2009

Halloween Ghosts

Materials:
kid friendly paint - I put it in empty elmers glue bottles, you could also put it in bowls and use a spoon to put it on the paper
paper - in this case we used dark colors
google eyes, glitter or other decoration

What to do:
1. Fold paper in half
2. drizzle paint all over - you can do more than one color too!
3. fold in half along the previous fold line, smush and rub with your hands
4. Open to see your creation! Add other decorations if you want!


This activity doesnt have to be ghost themed, you can use any colors of paint/paper you want.

Levi and I also made some of these in halloween colors, then when the paper was dry we cut it into strips to make garlands. It would also make great wrapping paper in holiday colors, or even thank you cards.

First 'sample' meeting


At our first meeting, I planned all of the activities just to give everyone an idea as to how things could work.

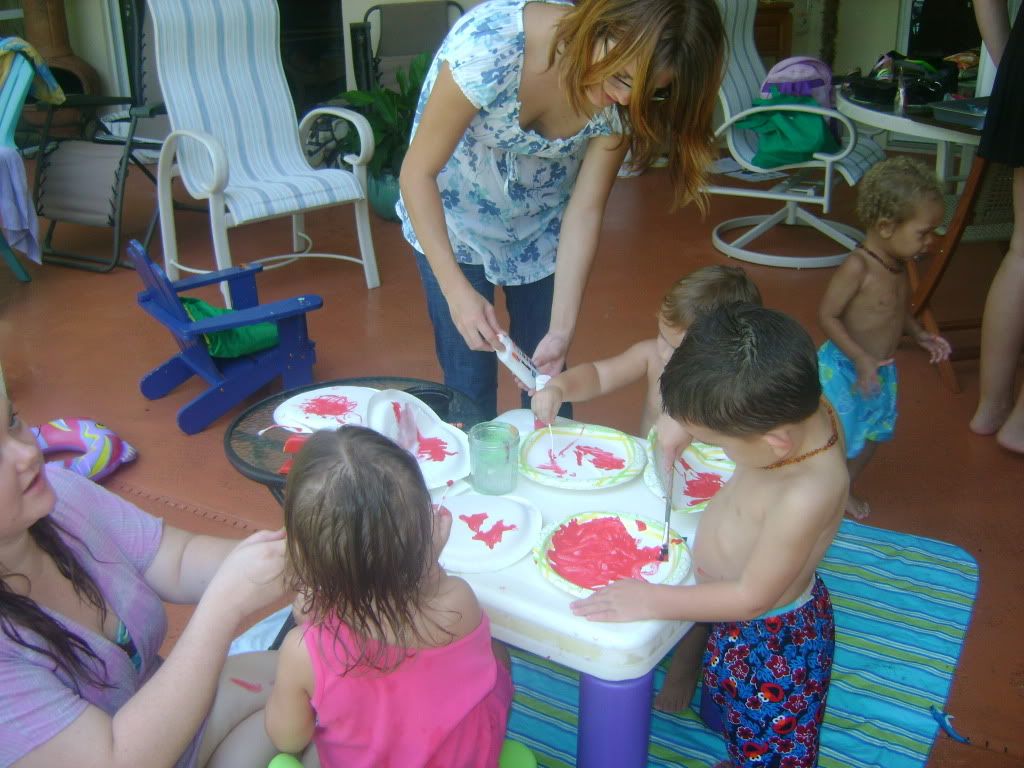
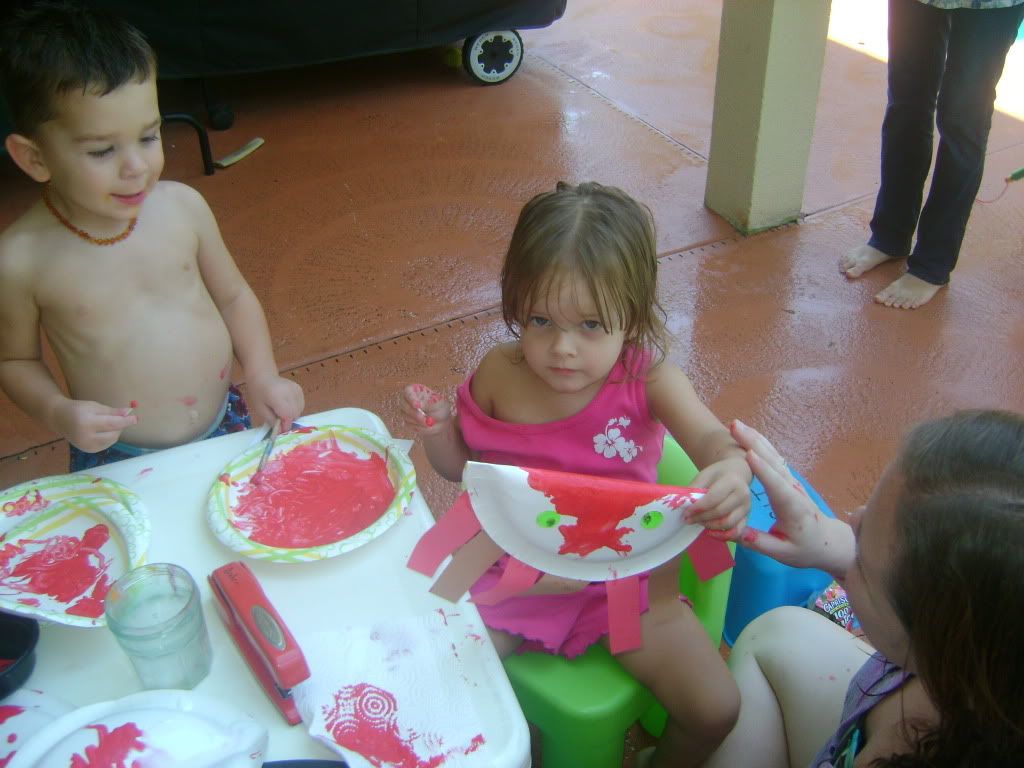
This one is a ‘crab craft’ project:

Materials:
Paper plates
Red or orange paint/paintbrushes
Pre-cut strips of paper (legs)
Google eyes or round stickers (eyes)
Stapler
White Glue (I put this in a small paper cup w/a popsicle stick, this makes it easy for the kids to spread)

What to do:
1. fold paper plate in half
2. paint the outside (back of plate)
3. glue legs to the inside (top) of the plate, on one half – 4 legs on each side
4. fold again and staple shut
5. add eyes


Other activites included:
'the fishing game' with magnetic fishing poles/paper fish, the kids counted the fish as they caught them.
Rice box - colored rice with sea animals hidden inside, the kids found the animals and matches them to pictures of real sea animals, they LOVED playing in the rice, it was almost worth the mess it made!

We also always have lots of books for the kids to look at!