Showing posts with label fine motor. Show all posts

Tuesday, January 18, 2011

Lowes/Home Depot Kids Program


Both Lowes and Home Depot have kids programs on Saturday mornings. Kids are given an apron, safety goggles, a kids size hammer and a kit to make a wooden toy. They hammer it together, and add stickers to decorate. When they finish a project, they get a certificate to take home and a badge to glue onto their apron.

Kids get to use real tools to create a cool project, all while following directions provided (with pictures for non-readers!), following safety rules (watch where that hammer is going!), and using fine motor skills (to pick up those tiny pieces). The constant hammering is a little annoying to listen to, so get grandpa to take them if at all possible!

Bonus: Its free!

(see what I mean about the noise level in there!?)

Thanksgiving


Pilgram hat:

1. Cut a large rectangle strip long enough to fit around the child's head, staple it into a loop. Make snips all the way around at the bottom of the hat.
2. Trace the resulting circle shape. Draw a circle 3" bigger than this on the outside.
3. Cut out along the outer circle and inner circle (you now have a ring).
4. Apply glue to the tabs created in step 1, and attach the hat band to the brim.
5. Make a buckle by cutting out a rectangle, fold in half and cut a small rectangle out of it. Glue it on.
6. wear it!


Monday, September 20, 2010

Paper Mache

Paper mache recipe:

1 part cornstarch
3+ parts water

boil until glue like consistency. It will continue to thicken as it cools, so stir often and add more water as needed.

DSC04423.jpg paper mache picture by leighi123

Tuesday, September 14, 2010

Rolling and folding Napkins


I love activities that take only a few seconds to set up, and this is one of them!

Here Levi is rolling napkins (an 'unpaper' towel actually). The trick is to roll it tightly enough so that he can put it in the napkin ring. Not an easy task for a 3yr old!

We have also done napkin folding - initially by drawing 'fold lines' on a napkin with a sharpie (or you can stitch the lines), and showing him step-by-step how to fold one demonstrating with my own napkin. Then I leave the sample for him to look at, and let him try it without help.

Levi also can set the table - folding napkins, counting the correct number of forks/spoons/knives, and putting them on the table. Still working on correct placement, but he manages to put one of each utensil on top of a napkin at each place setting, which is good enough for our family!DSC04273.jpg rolling napkins picture by leighi123

Learning to Sew

Sense I sew myself, Levi wanted to learn. Lucky for him, my sewing machine has a 'sew verrrrry verrrrry slowwwly' setting.

I set up the machine on his little desk, and he was able to make a little (somewhat wonky) beanbag with very little help from me.

Looking forward to teaching him more projects, maybe eventually he can help me with my sewing projects!

DSC04211.jpg holding it up image by leighi123DSC04210.jpg proud of his beanbag image by leighi123

Videos:
http://s169.photobucket.com/albums/u218/leighi123/baby/June%202010/?action=view&current=MOV04206.mp4

http://s169.photobucket.com/albums/u218/leighi123/baby/June%202010/?action=view&current=MOV04207.mp4


Tuesday, June 29, 2010

Scooping


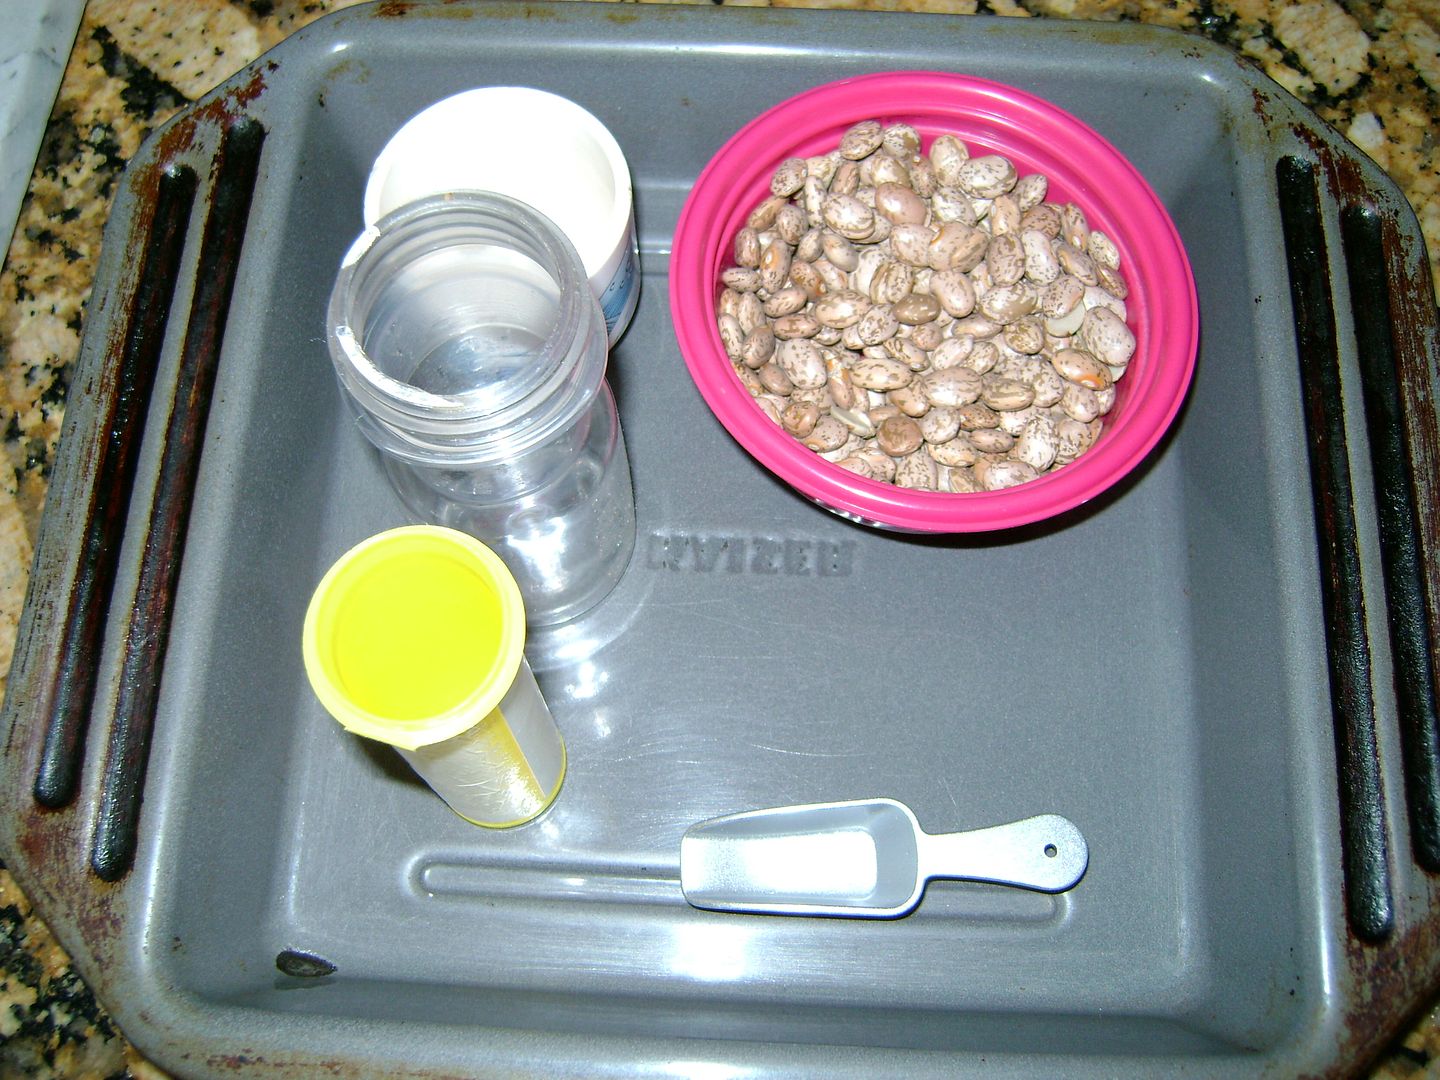
A scooping activity - bowl of beans, a mini scoop, 3 containers with different sized openings (the yellow one was the same width as the scoop). He simply scooped beans into the containers, starting with the widest to the narrowest. Each container got a little more challanging!

The Letter 'T'

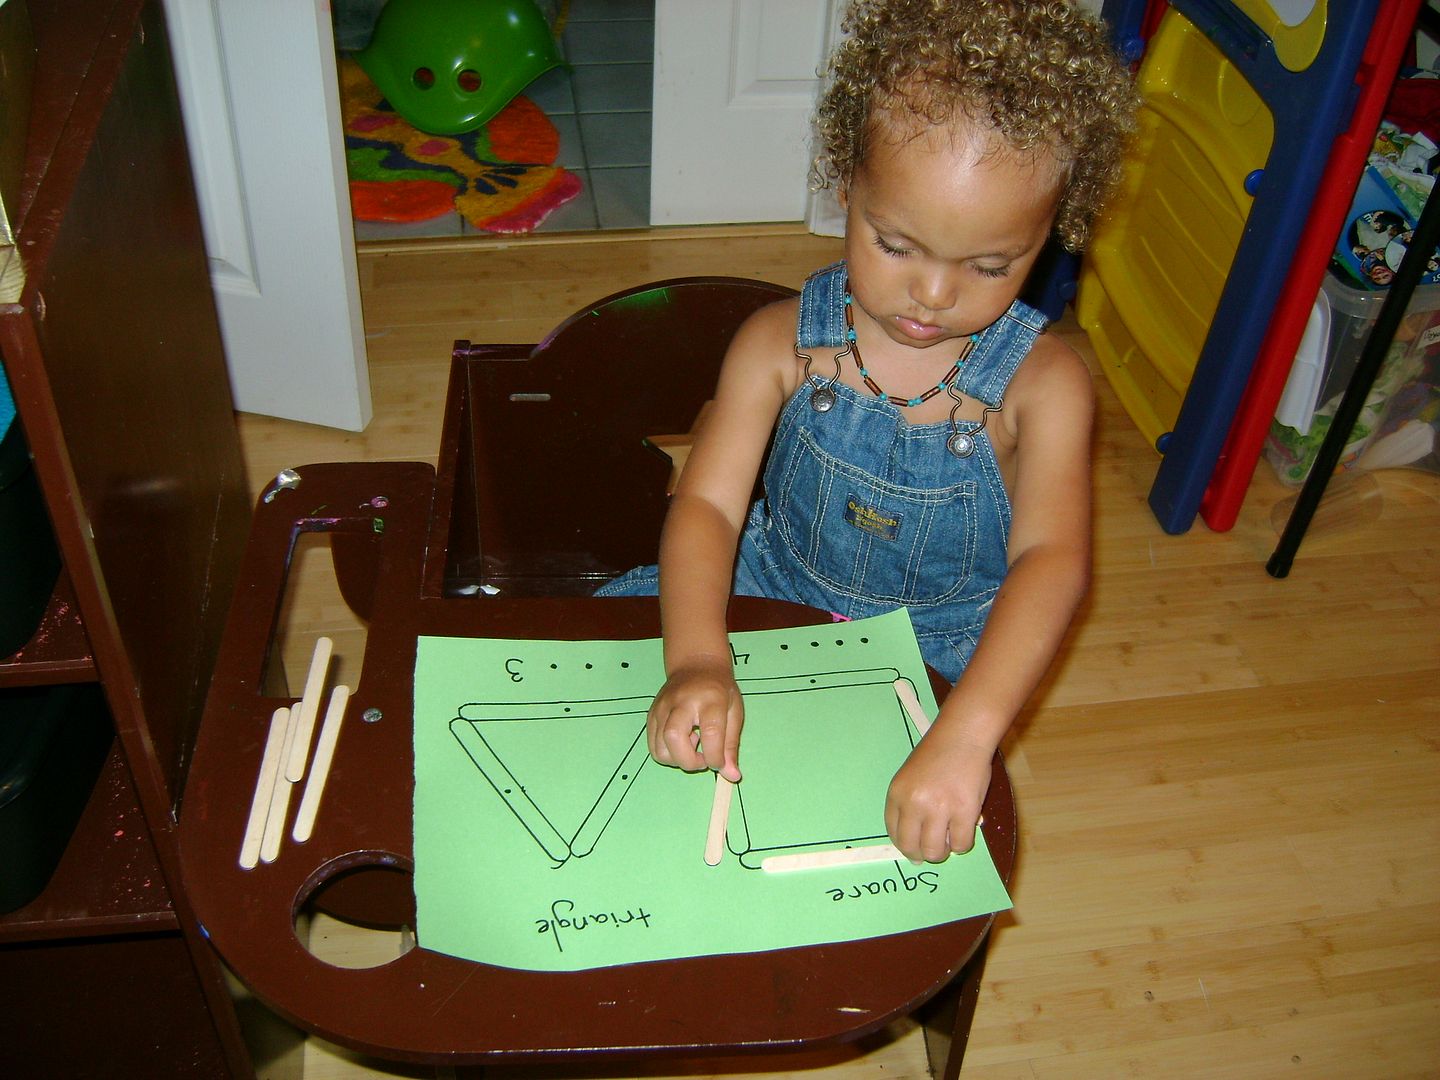
Here Levi is doing a shape activity, I just traced popsicle sticks so he could match them up. We counted corners, and sides and compared the two shapes.
I also did a similar activity where I put colored dots on the end of the popsicle sticks, matching colors would make a shape!
Brushing teeth! We used an old toothbrush to brush 'teeth' to make them white and clean! We talked about WHY it is important to brush your teeth, and how to make sure to brush them all.

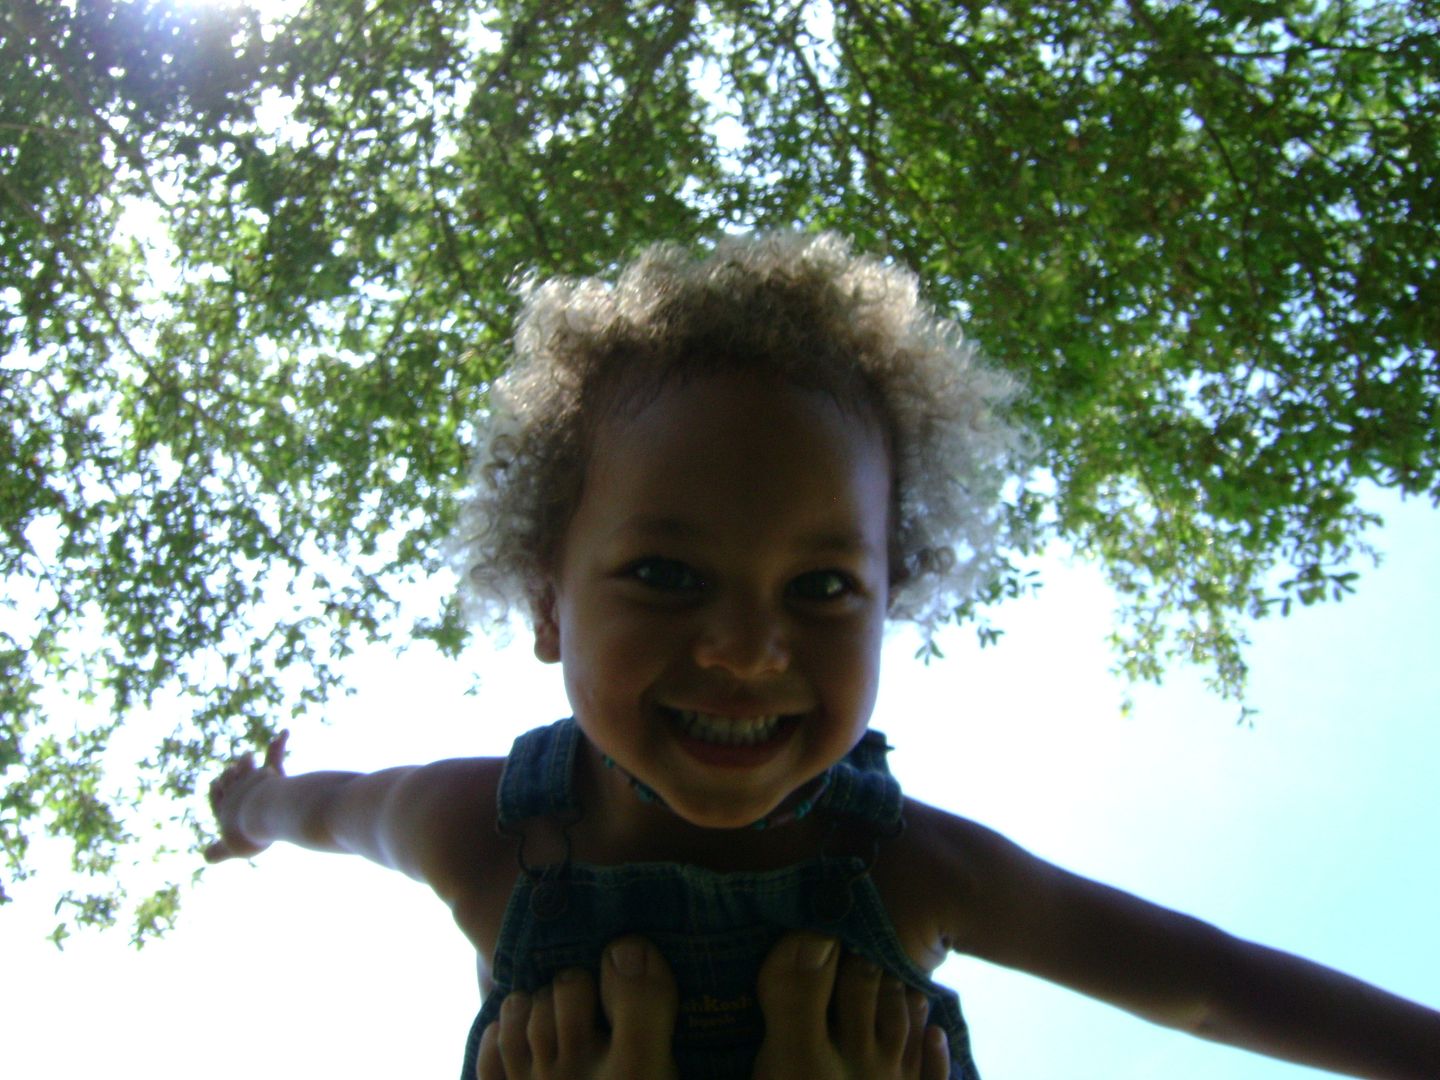
Outdoor time - we looked at all the different trees around our house, did some tree rubbings (which we later made into a little book), and pretended to be a tree!


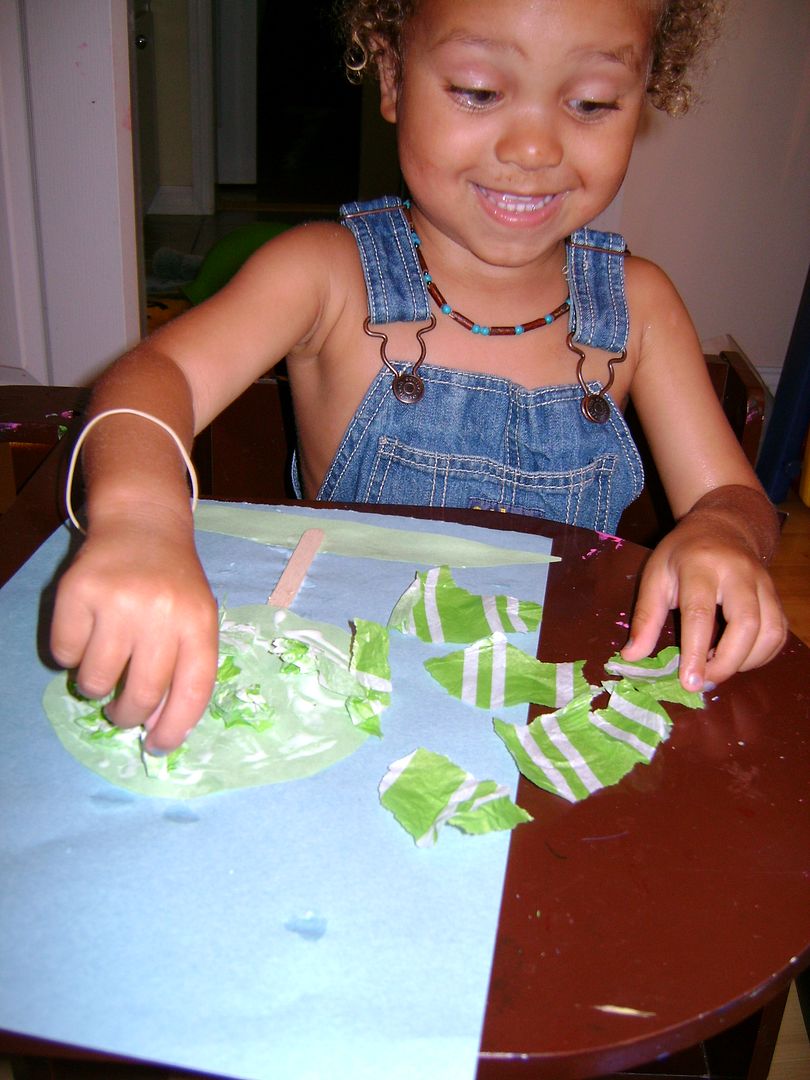
Arts and crafts tree - popsicle stick for the trunk, strip of paper for the grass and crumpled tissue paper for leaves. Discussed the parts of a tree as well (he already knew them though)
Another activity Levi initiated was with his trains. He took my small ironing board and made a ramp to race them down. I found some poker chips that we used to mark where the trains landed, and compared different trains, and then different angles of the ramp. This kept him entertained for a looong time, but because he was using my ironing board I couldnt get much sewing done without it!


T is for:
trees
toes
teeth
ten
tomato
tiger
train
triangle
tractor

Tuesday, June 22, 2010

Working with Real Tools


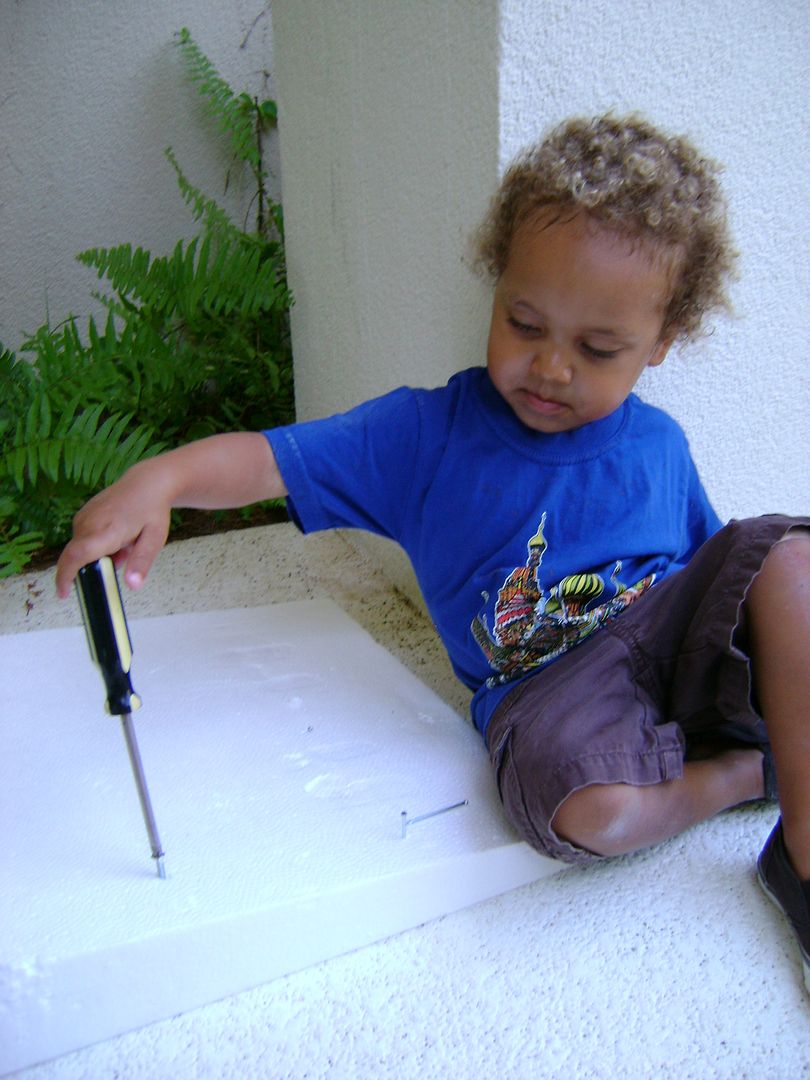
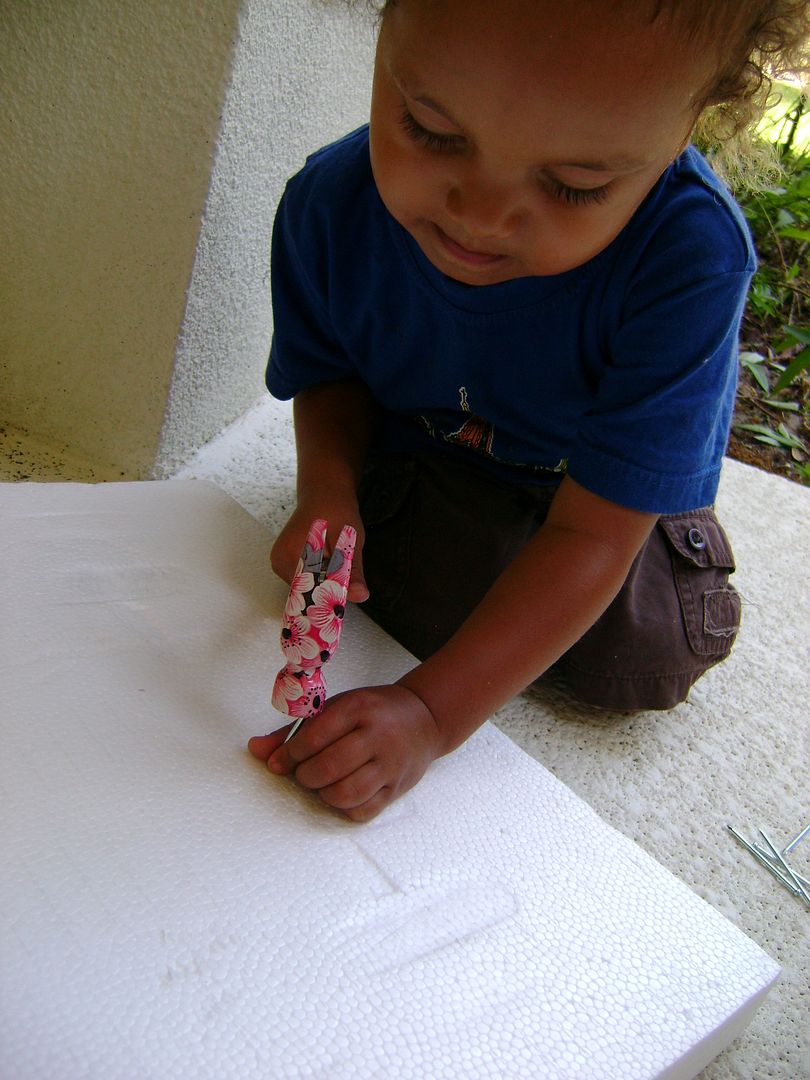
Levi learned how to use a hammer and screwdriver.
We got this peice of foam from a packaged mailed to us, and its perfect for him to practice using tools. I demonstrated what to do, and reminded him to watch his fingers and he hammered away! When he ran out of nails I taught him how to use the back of the hammer to remove them, which was even more challanging.
Later we used a screwdriver to put screws in. He ended up using the hammer method to remove the screws as well.
He did these activites multiple times over the week, until I got tired of picking up styrafoam bits and recycled it!

Monday, May 24, 2010

Drawing

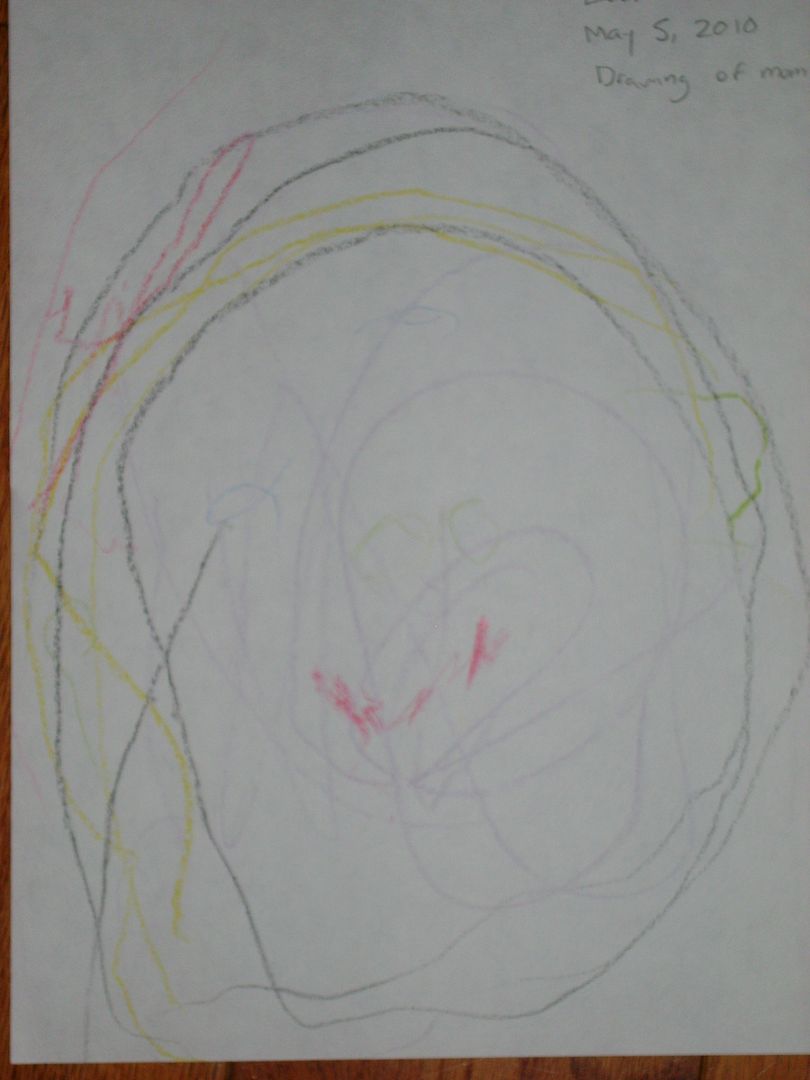
A drawing of ME. The first one that is an actual attempt at making something look like me.

He drew the oval and hair, and told me it was a picture of me. So I sat across from him and asked him what else was on my face. He said 'mouth' and chose red, and added it on. Then "eyes" and drew some eyes with blue (one is on my forehead), and then drew a nose dot.

Afterwards, he wanted to draw himself, so I let him look in the mirror. He got bored of the idea after drawing the oval though, and ended up drawing a bunch of rainbow ovals all over.

We used crayon rocks for this activity.

Saturday, May 15, 2010

Insects


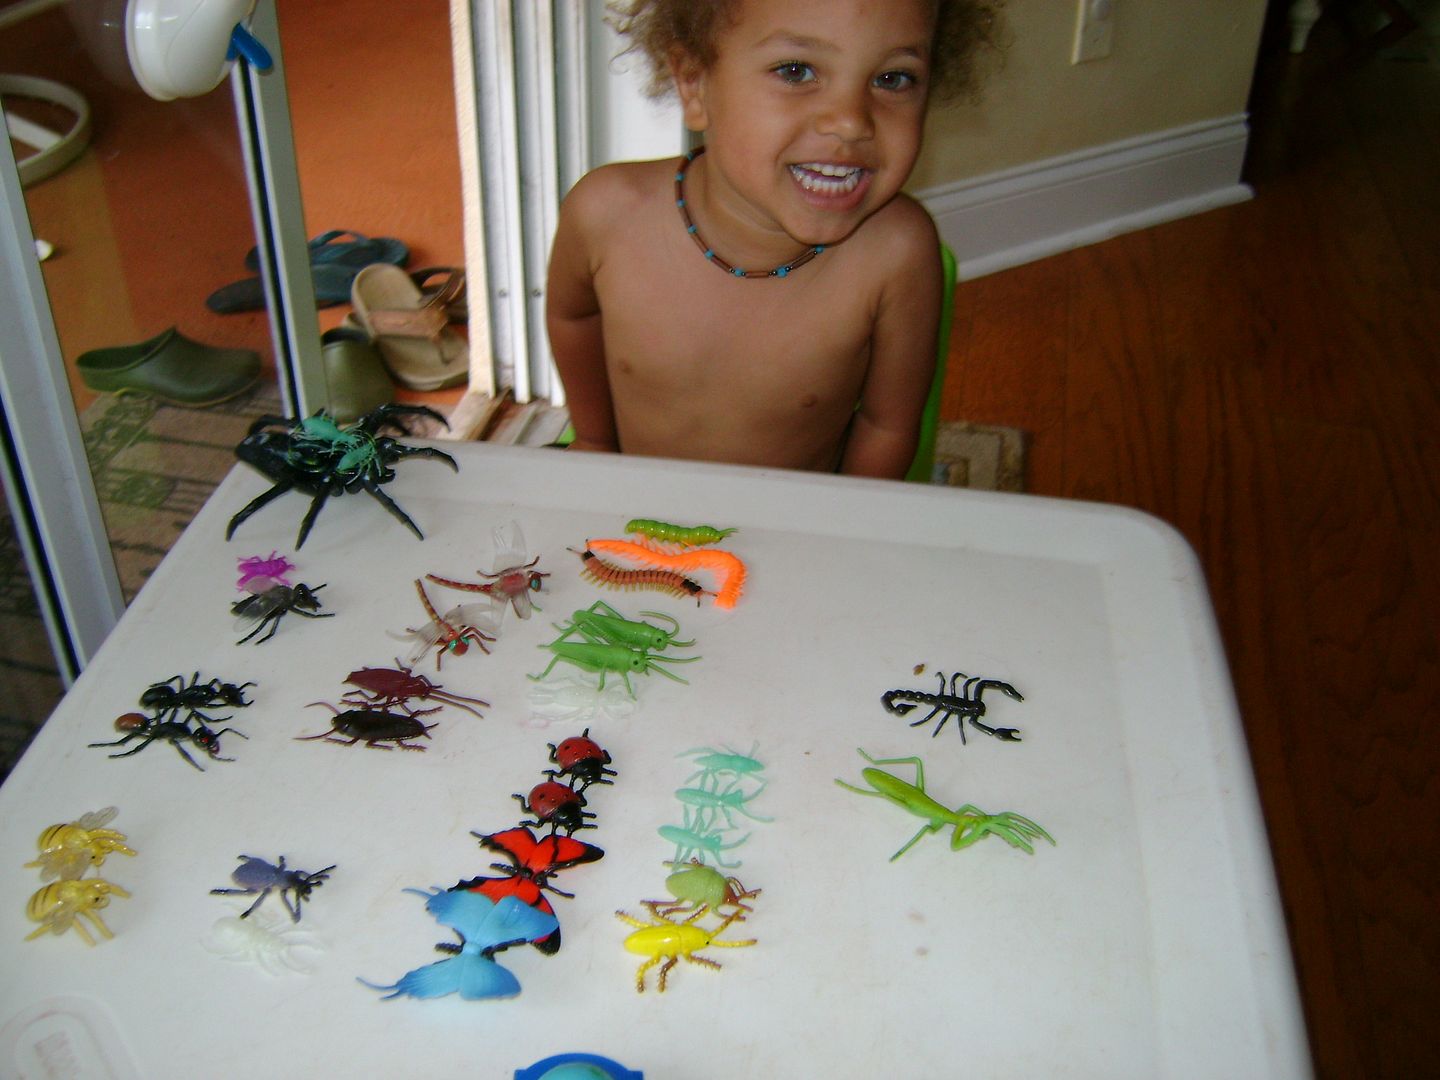
Using the insects 'toob' and some other random plastic insects, we sorted insects into matching pairs. We then sorted by insects that fly, and ones that don't fly. We looked at body parts (antennea, legs, head, thorax, abdomen, wings etc.)


Levi found the tweezers on his own and decided to dump all of the marbles in the tray and then transfer them to the jar. This was difficult because they were slippery from the paint.

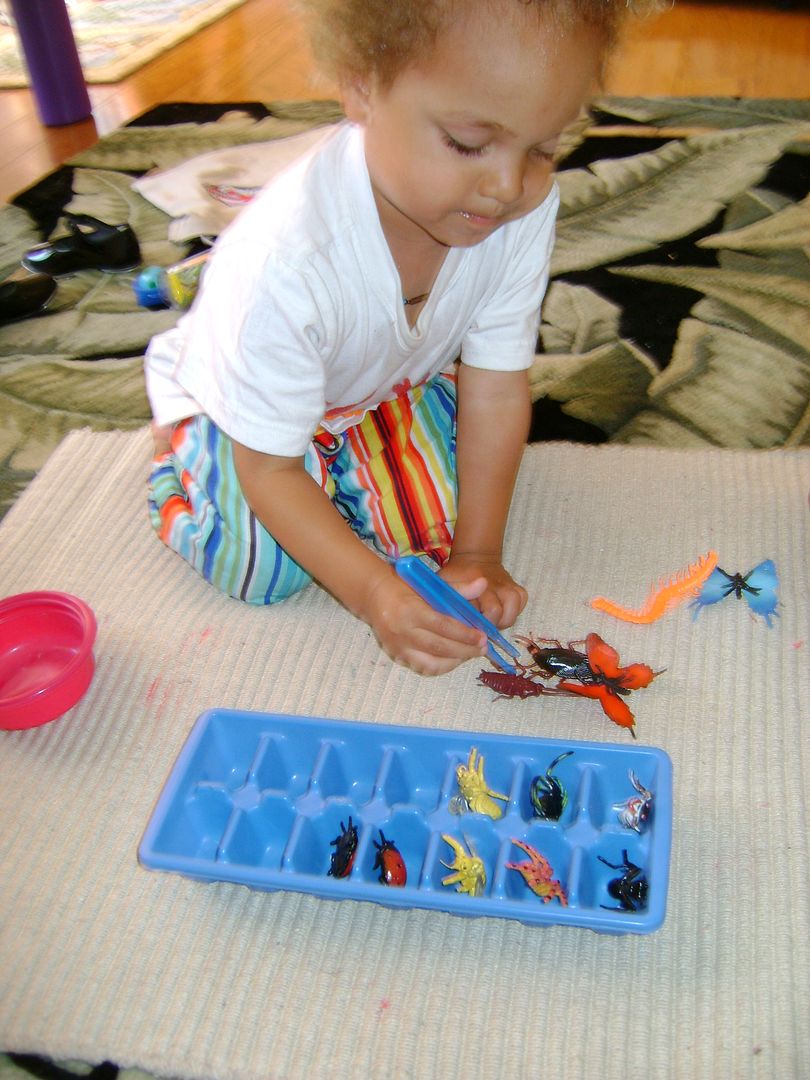
Another sorting activity, this time using tweesers to transfer the insects to the ice cub tray, and carefully putting them side by side. Here he accidently put the last lady bug in the wrong spot, but didn't notice until he had almost filled the tray. Some insects were harder to hold than others.


The tray is lined with paper cut to size (I traced the tray). A couple small globs of paint and marbles to roll around. Sprinkled with a little glitter, and a pompom with googly eyes added in the center, and you have a spider web!


This time Levi is the spider! A few bugs and lengths of string were in the tray, and his task was to wrap up each insect. When he was done, he of course unwrapped them to set them free!
He is also wearing butterfly wings, made at his request to attend a butterfly garden meeting at the library. I just cut foam into a wing shape, and added velcro straps.

The Letter S

S is for:
snake
sweep
sleep
sing
sand
sun
star
sorting


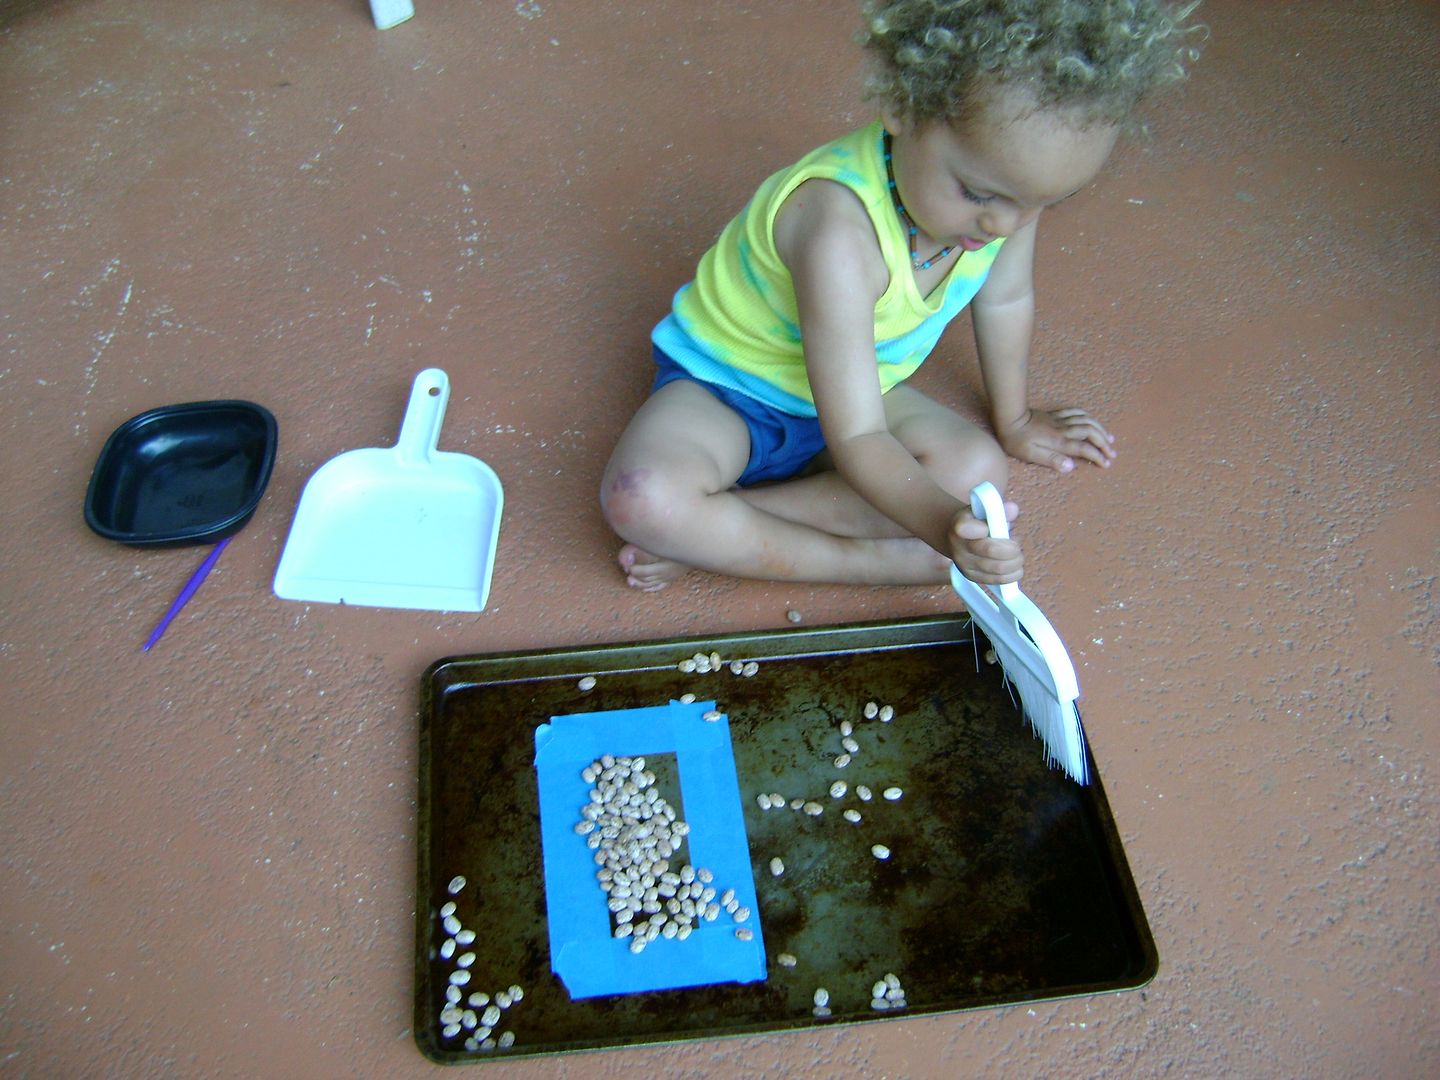
Here Levi is practicing sweeping. He is to sweep the beans into the blue square, and then carefuly pour them into the black container. This is quite a challange!

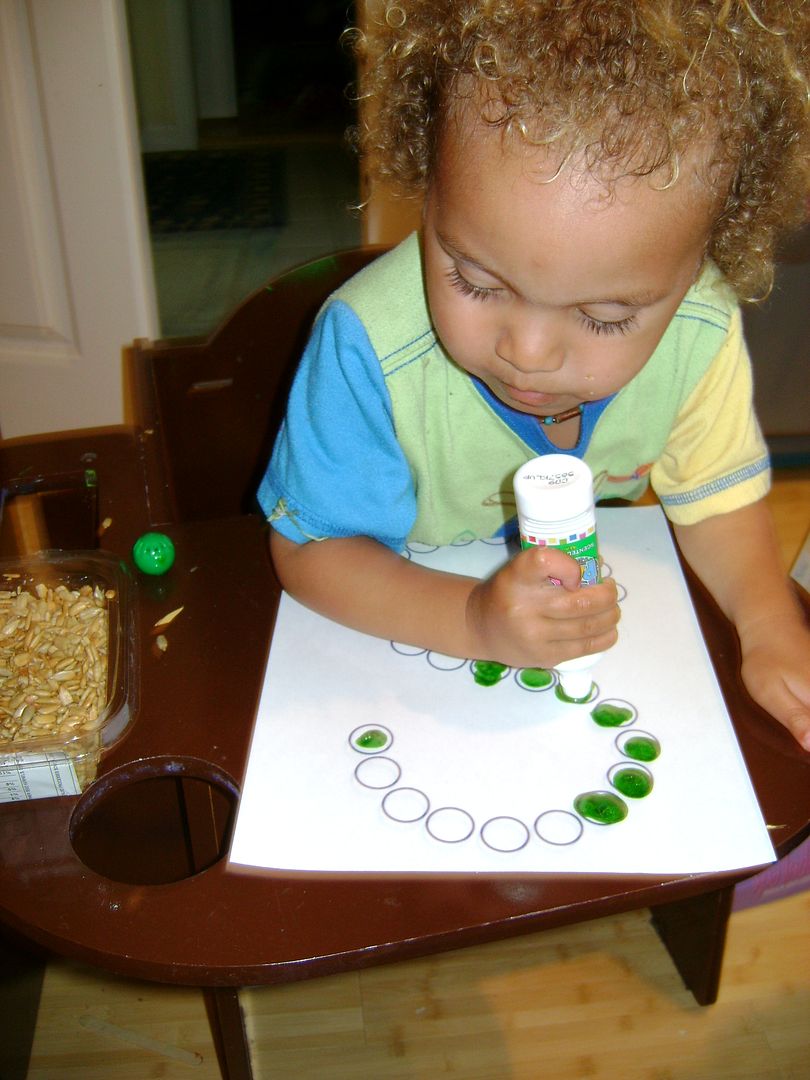
I got Levi some dot markers, and this is the first time he used them. He got the idea right away and compleated the task in a very short time. Next time I am going to try to encourage him to start from the top of the letter and work his way down, because this time he did the middle first, then the top, then the bottom.

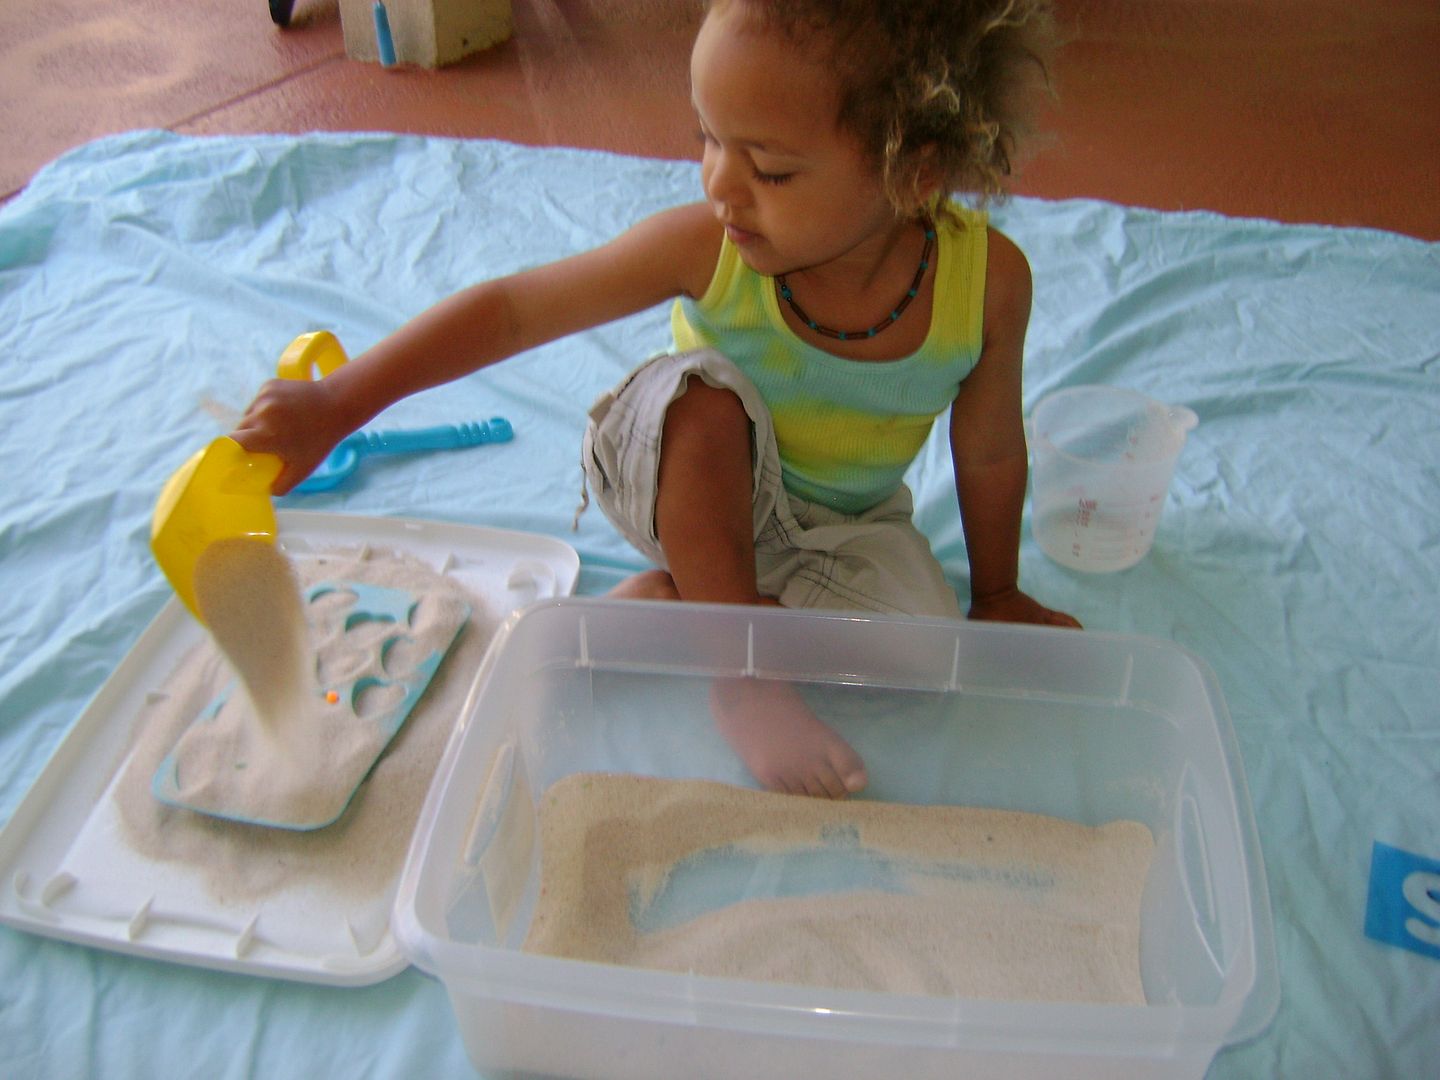
Sand play - here he is filling an ice cube tray with sand. He also has a letter 's' stencil which he used to practice tracing the shape of an 's' in the sand.


This is a snake cutting activity. First he decorated it, and then Levi had to concentrate in order to cut the spiral shape to make his snake. Once cut out, we glued a tounge and googly eyes on where I had drawn the dots, and attached a string to the center for hanging.


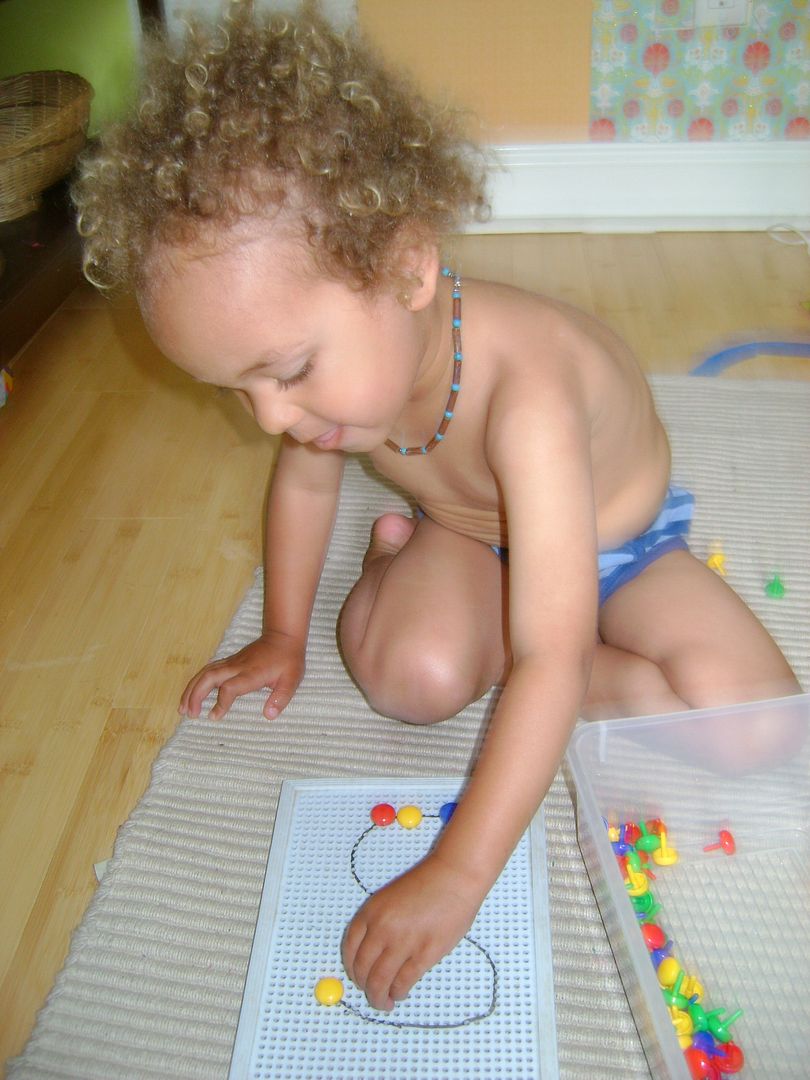
I'm not sure what these pegs are called, but they look similar to thumbtacks only they are plastic. They can be placed into the plastic board which is full of holes. To get them out, you push them from the other side (and it helps to hold it over the storage box so they don't go flying!). I simply drew the letter 'S' onto the board with a whiteboard marker, which wiped off when he was done.
I've had this peg set sense I was a little kid!

Wednesday, April 28, 2010

Paint Chip Cutting

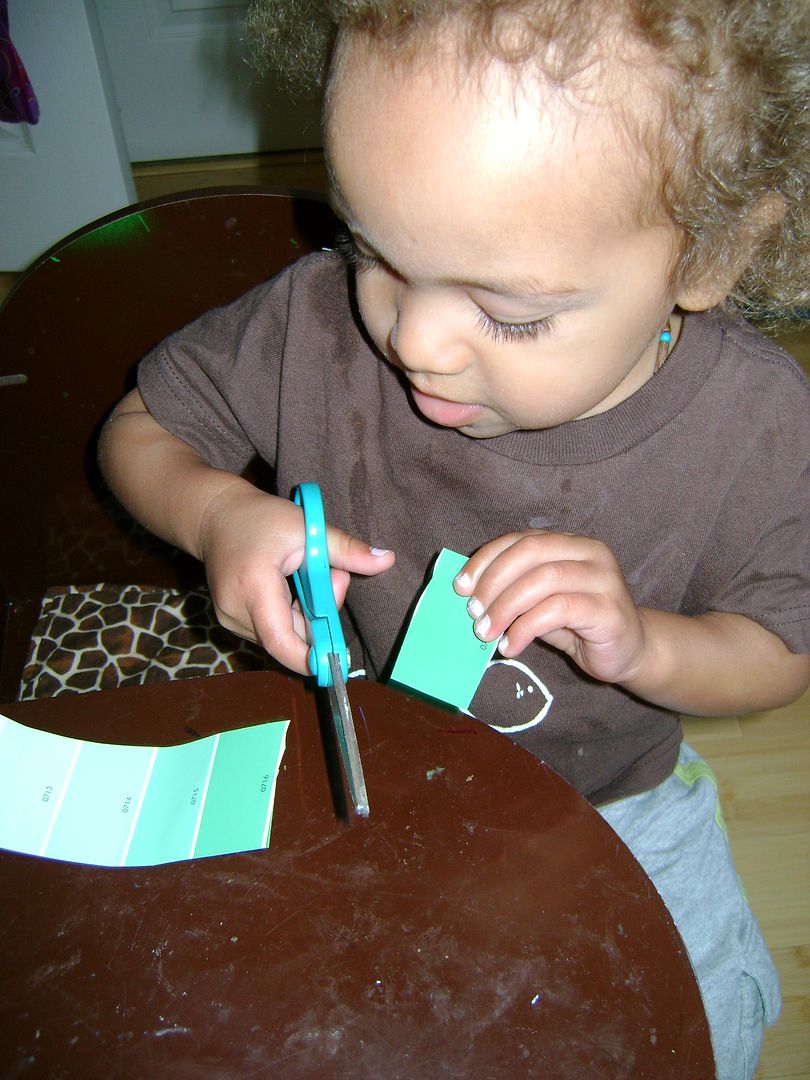
Here is another cutting activity, which you can also extend into color learning!
Levi picked out some paint strips, they have white lines, and the stiff paper makes it easy to handle to cut. Levi cut the paint chips out, and then we tried to put them back in the right order from light to dark.
It helps to have 2 of the same paint strip for this, to act as a control of error to check that you got them in the right order!

Tuesday, February 2, 2010

Clothes pegs


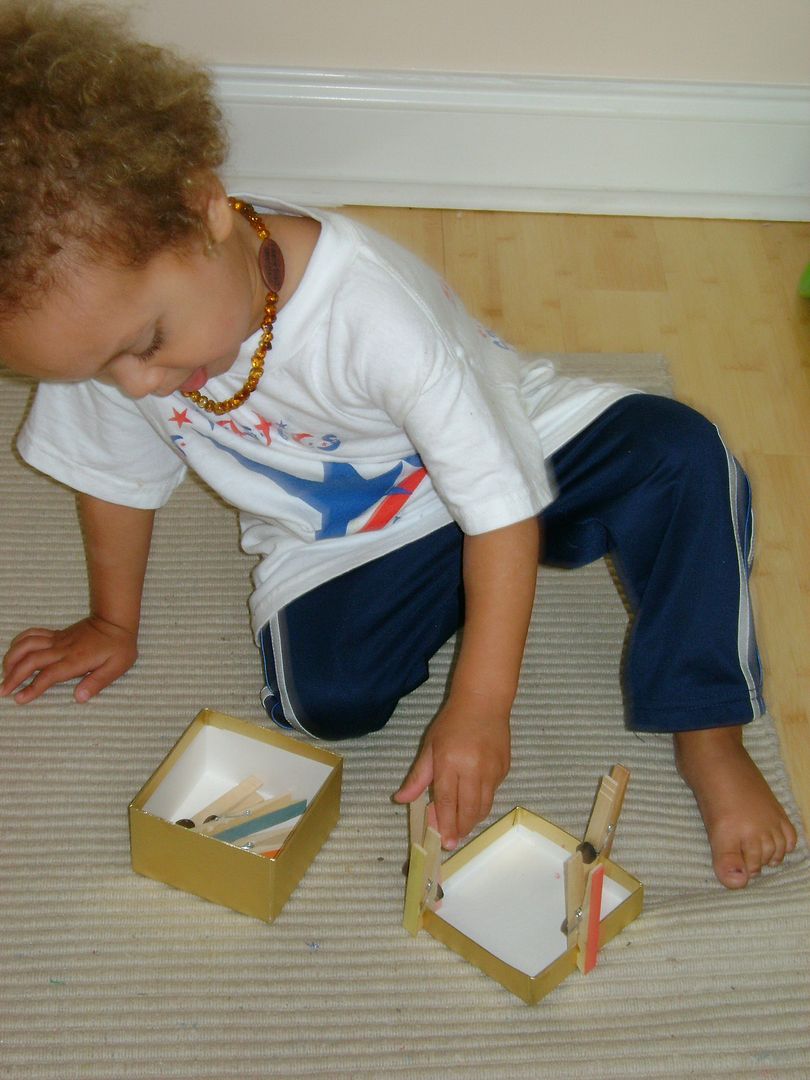
Here is another fine motor activity, this one is great for young toddlers as well.

Put the clothes-pegs around the outside of a box/basket, and let the child pinch them to put them into the basket. Then have them try and put them back on the edge!


Pom Poms

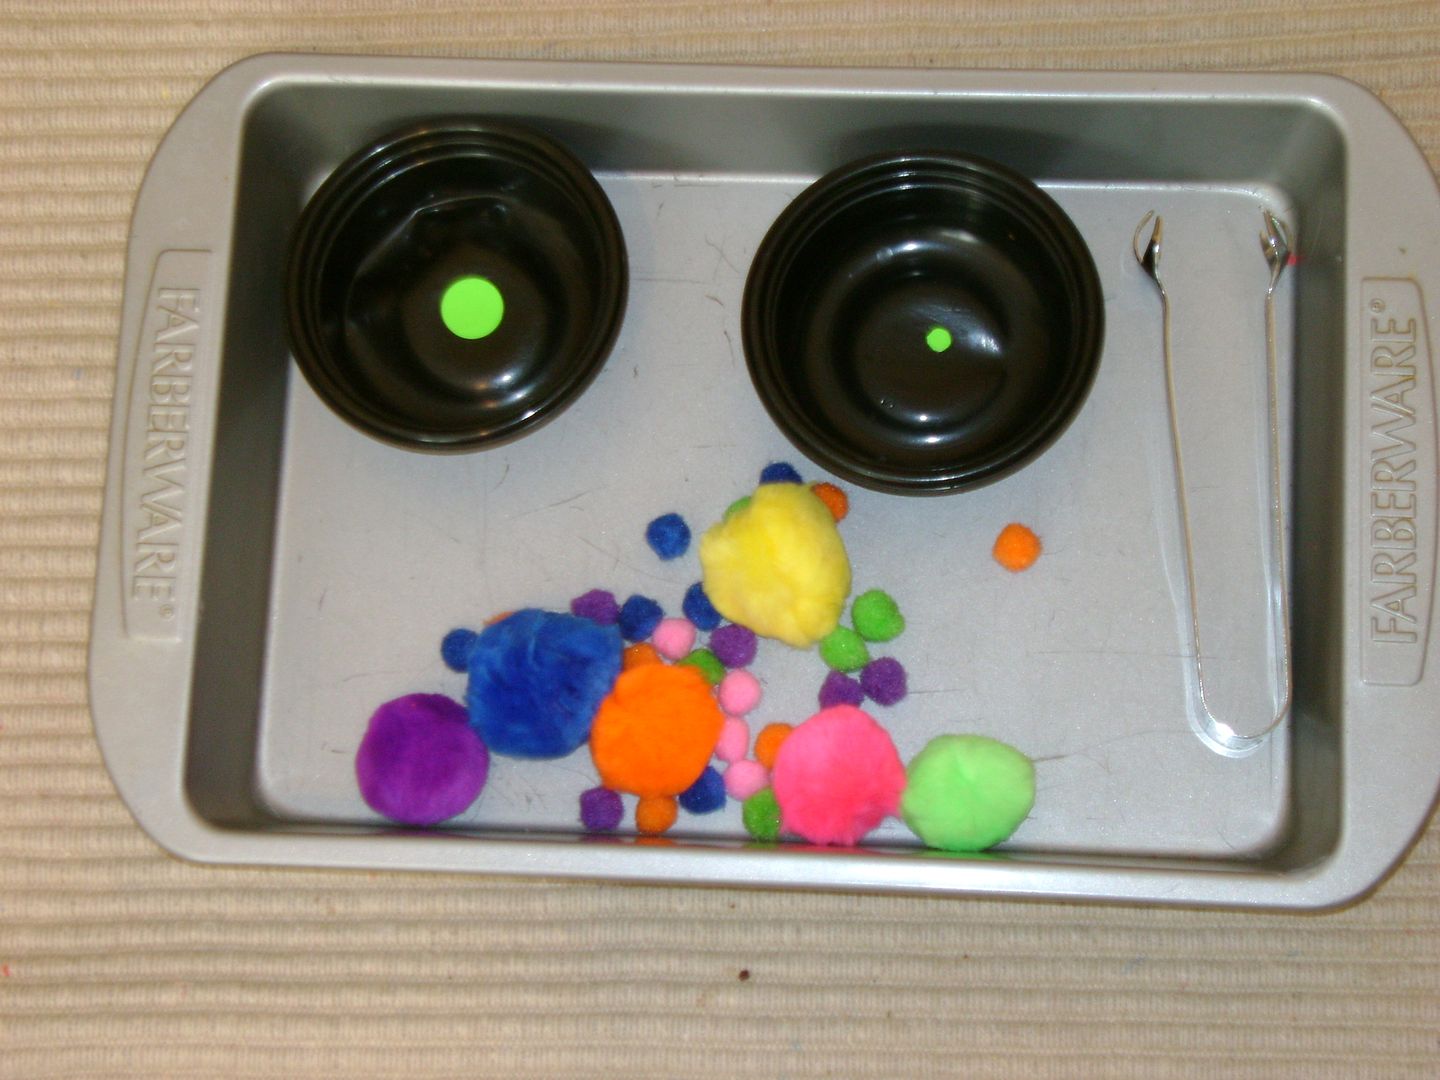
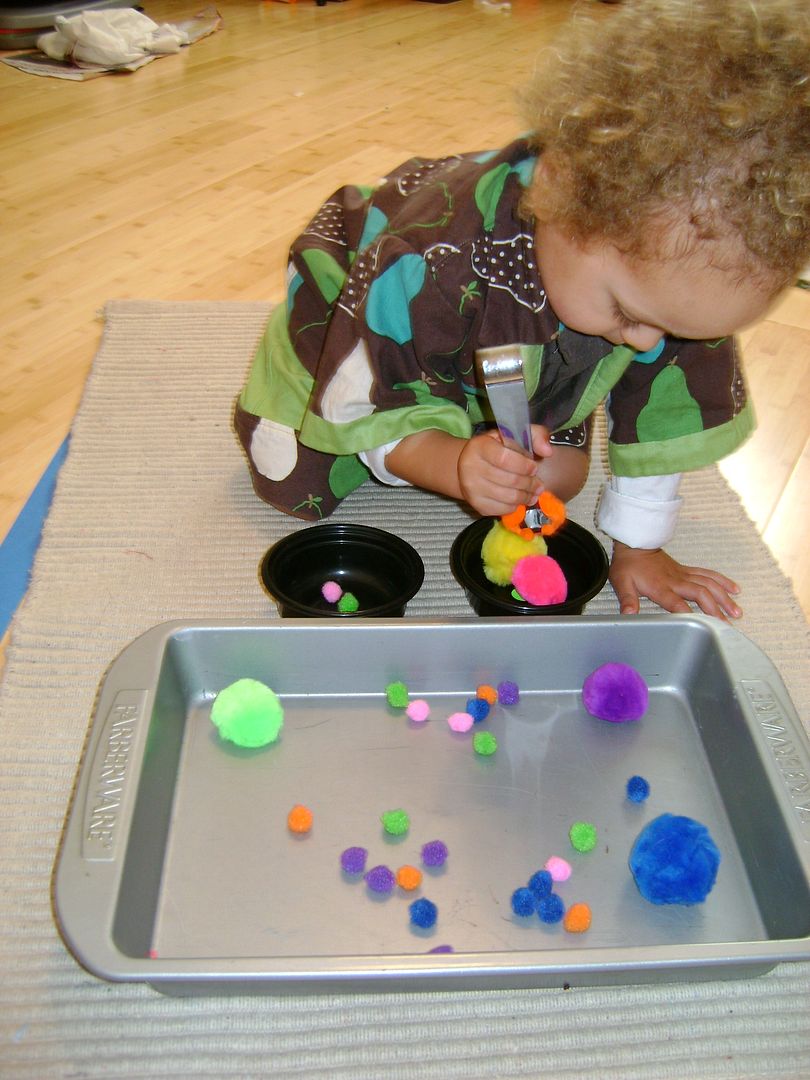
This activity is great for fine motor skills, and sorting. In this example we sorted 'big' and 'small' but you could also add 'medium' or sort by color. There are all kinds of things you could use for this activity, just whatever you have around! (we have used paper clips, buttons, toys...)
The tongs are optional, but Levi loves to use them. I marked each bowl with a 'big' dot and a 'small' dot and let Levi sort the pom pom's into the right bowls.

The set up
Levi in action

Tuesday, January 19, 2010

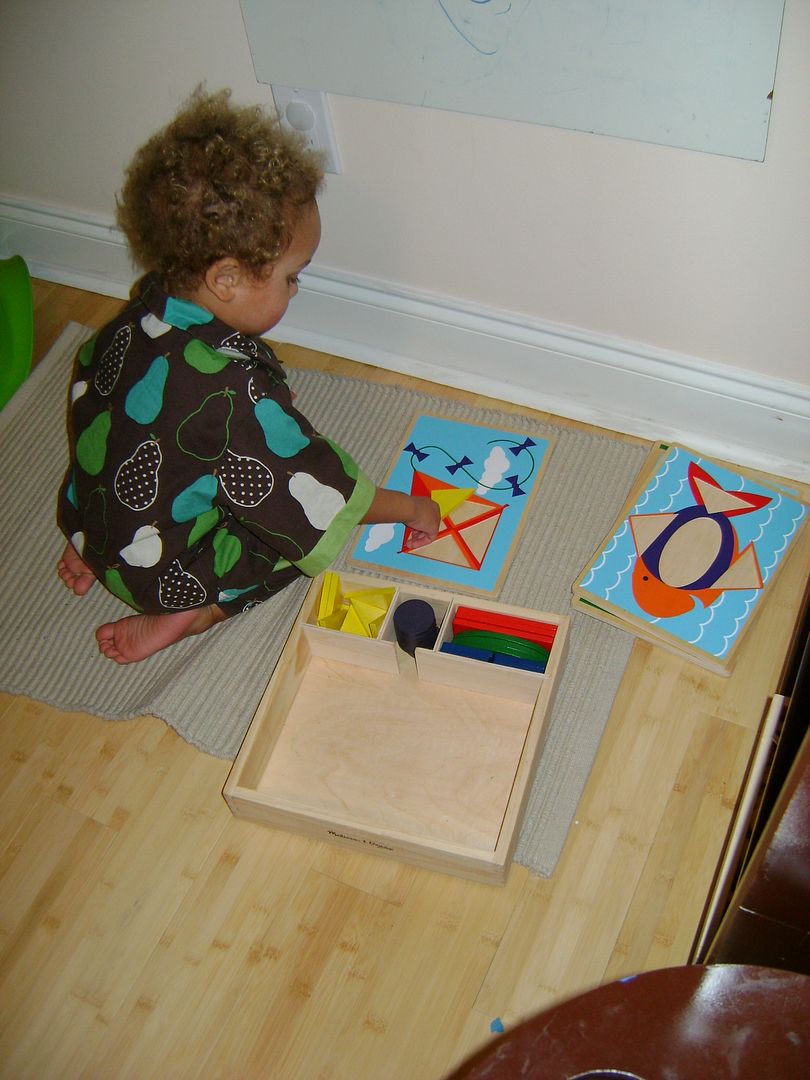
Pattern Blocks


Here Levi is working on his pattern block activity. He is contained to his little rug (I love our new bamboo floor!)

Painting rocks


Levi is painting some rocks here, its a challange to paint something 3-D. The good news is that rocks are free and there are plenty of them!

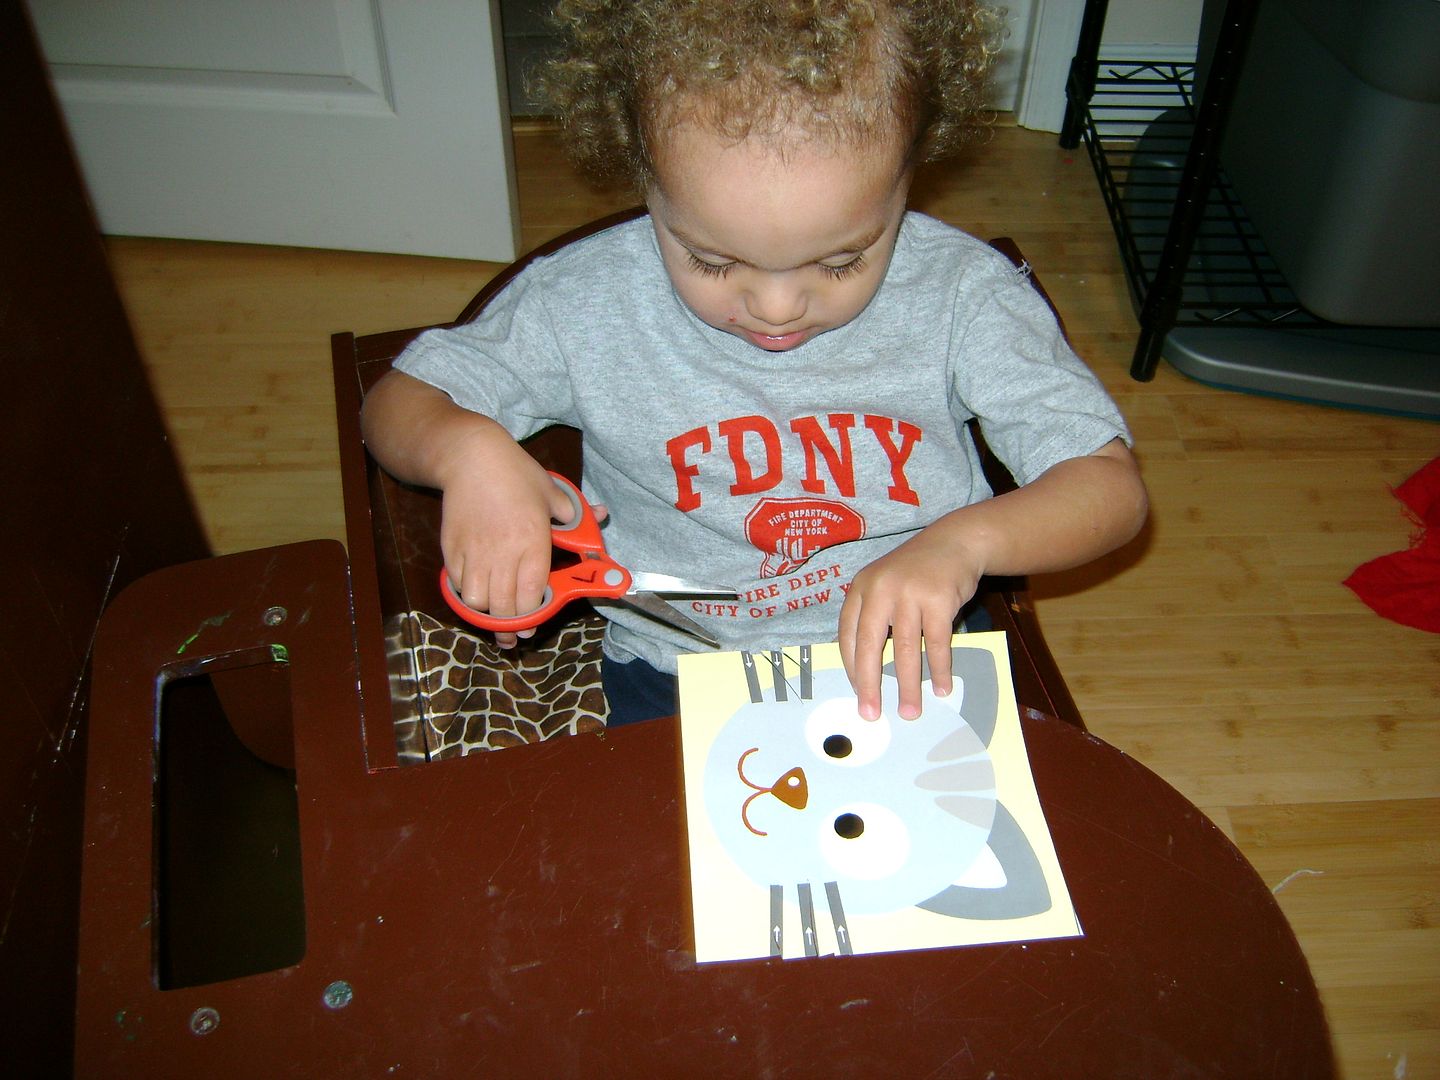
Sissors


Levi is working on using sissors correctly. I have to place them carefully into his hand, and show him where to cut. But already with just a little practice he can cut a peice of paper in half along a line, cut a square corner off a peice of paper (following a line), and, as shown here, cut 'snips' on a picture, stopping the sissors at points indicated. The worksheet he is using here is a Kumon cutting book. See how his hand is twisted in this pic? Thats one thing I have been helping him to correct, the sissors should be held right out in front of him, not at a funny angle.

Sissor safety:
- use kids sissors only, with rounded ends and not-too-sharp blades
- supervise closely (duh!)
- show the child how to hold the sissors correctly (demonstrate and then help them try it)
- hold paper with one hand, and the sissors with the other, watch your fingers!
- sissors should only be used sitting down in a designated spot.
- Only cut paper (not hair, clothes, people, the dog....)
- store sissors out of your child's reach (and where they cant drag a chair up to reach them when you go to the bathroom)
- carry sissors by wrapping your hand around the blade, blade pointing downwards and walk dont run!

Cutting ideas:
- practice 'snips' by drawing short lines from the edge of the paper inwards for the child to cut along. Its easier to work with a smaller peice of paper instead of a full peice.

- cut strips of paper 1" wide or so and have them snip it into confetti. Next try drawing lines at 1" intervals and have them try and snip only at the lines to make squares (then go make a collage)

- draw lines across the page and have them practice cutting the page in half. This is tricky because they have to open the sissors and line them up in the right spot. Draw your line thick at first so its easy to follow. Try diagonal lines and then curves.

- cut the corners off the page, draw an 'L' at each corner and have them cut on the lines, then fold up each side and tape it into a little box!

(thats all we have done so far, I'll add more ideas when we get some more practice in!)
-

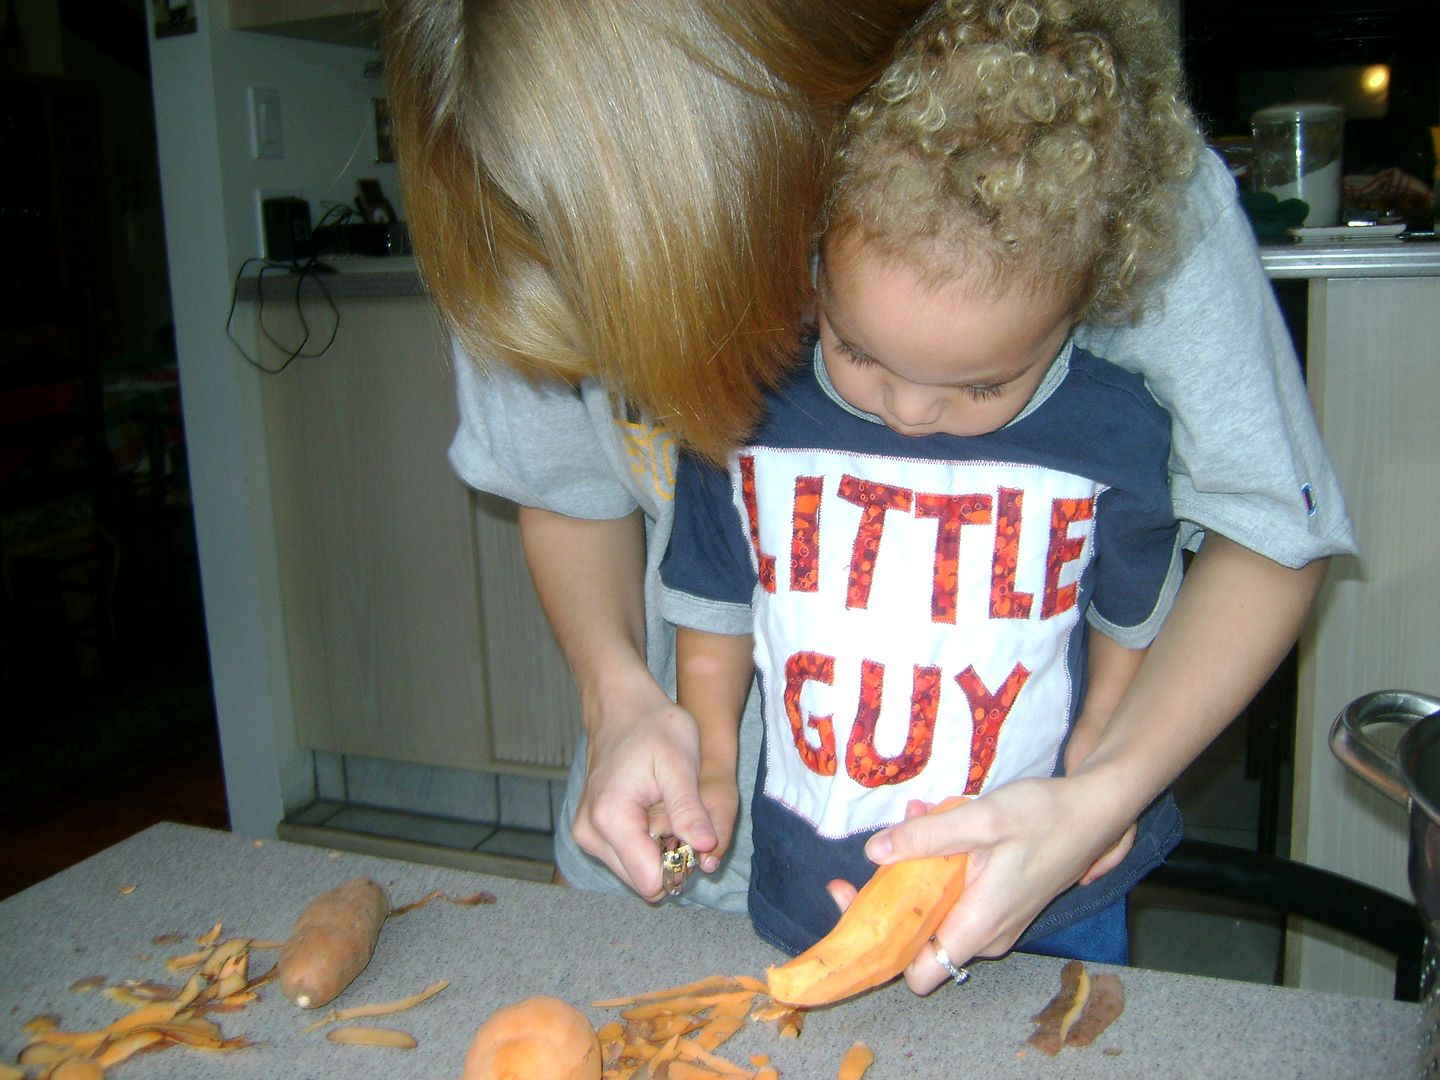
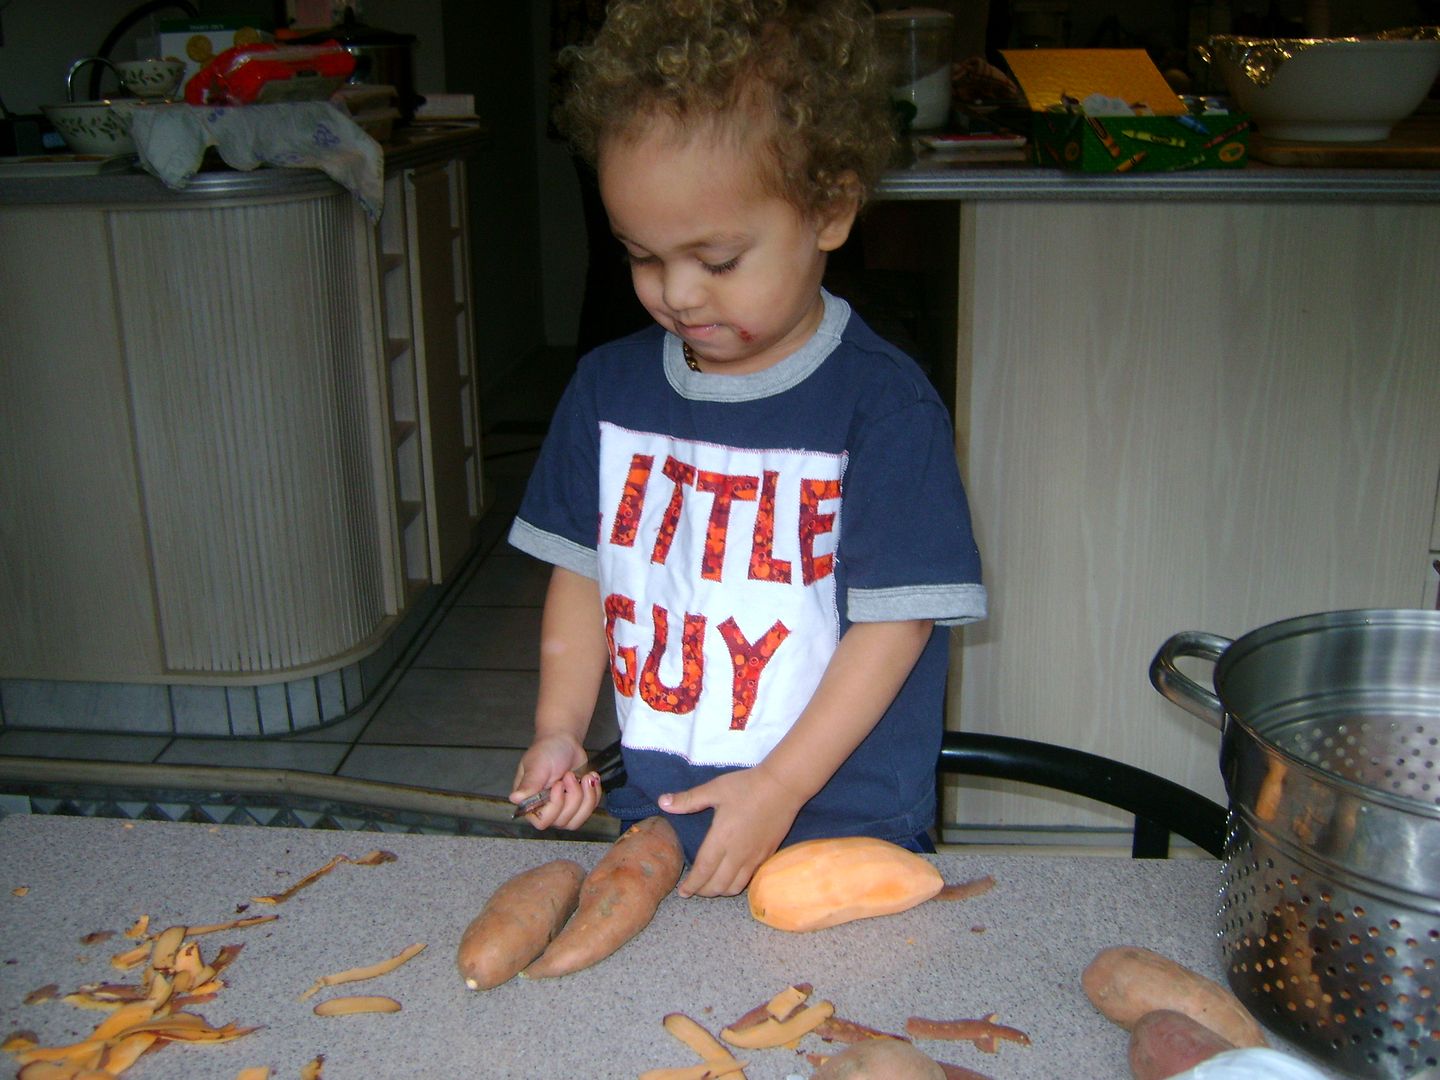
Peeling vegetables


This skill requires close supervision and a little talk about how to use kitchen tools safely (sitting down at the table, only when an adult is with you, etc). We used sweet potatoes because they are easy to hold onto, and easy to peel. After some practice, Levi was able to peel all on his own.


Saturday, November 14, 2009

Using a Garlic Press


This activity teaches the child to do things in order (if they don’t pour the water on first, the sponges won't wring out, put it in the wrong bowl and they end up wet again!), teaches fine motor skills, and hopefully they lean to clean up!


Materials:
3 small bowls
1 small cup of water
garlic press – the basic kind is best
sponge cut into small squares that fit into the garlic press
tray w/towel on it to catch spills

What to do:
Demonstrate the procedure while the child watches, and then let them try!

Set up the tray with the towel in the bottom, 2 empty bowls, 1 bowl w/sponges in it, the garlic press and small cup of water.
the child pours the water onto the sponges
Take one sponge, put it into the press and squeeze the water into one of the empty bowls.
take the now dry sponge out and put it into the second empty bowl
Repeat until all of the sponges are dry. The water in the bowl can now be poured over the dry sponges and the process started again.
When finished, have the child put all the pieces of the activity back and clean up any spills.

Levi loves this activity and will spend forever on it, most of the time he is careful about his spills, but when he starts goofing around, its time to clean up and move on.

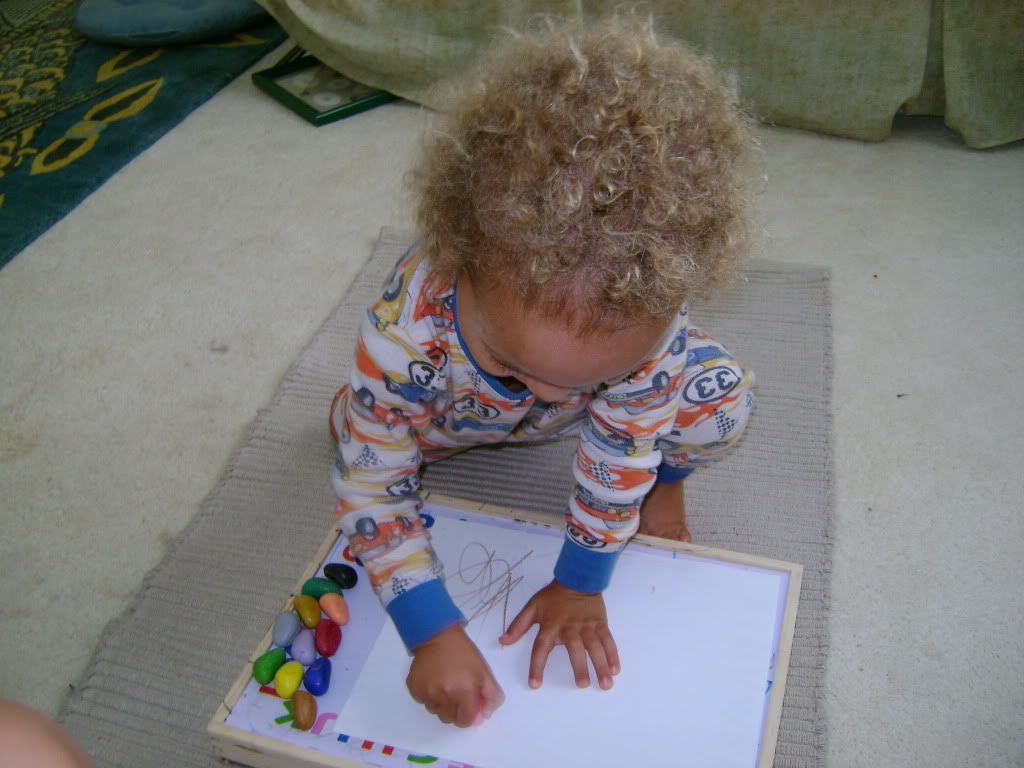
Crayon Rocks


We ordered some crayon rocks from a co-op (thanks Lianne!). Because of their shape, these are supposed to help kids develop the correct technique for holding a writing utensil, plus they are fun to colour with!