Showing posts with label montessori. Show all posts

Tuesday, June 29, 2010

Scooping


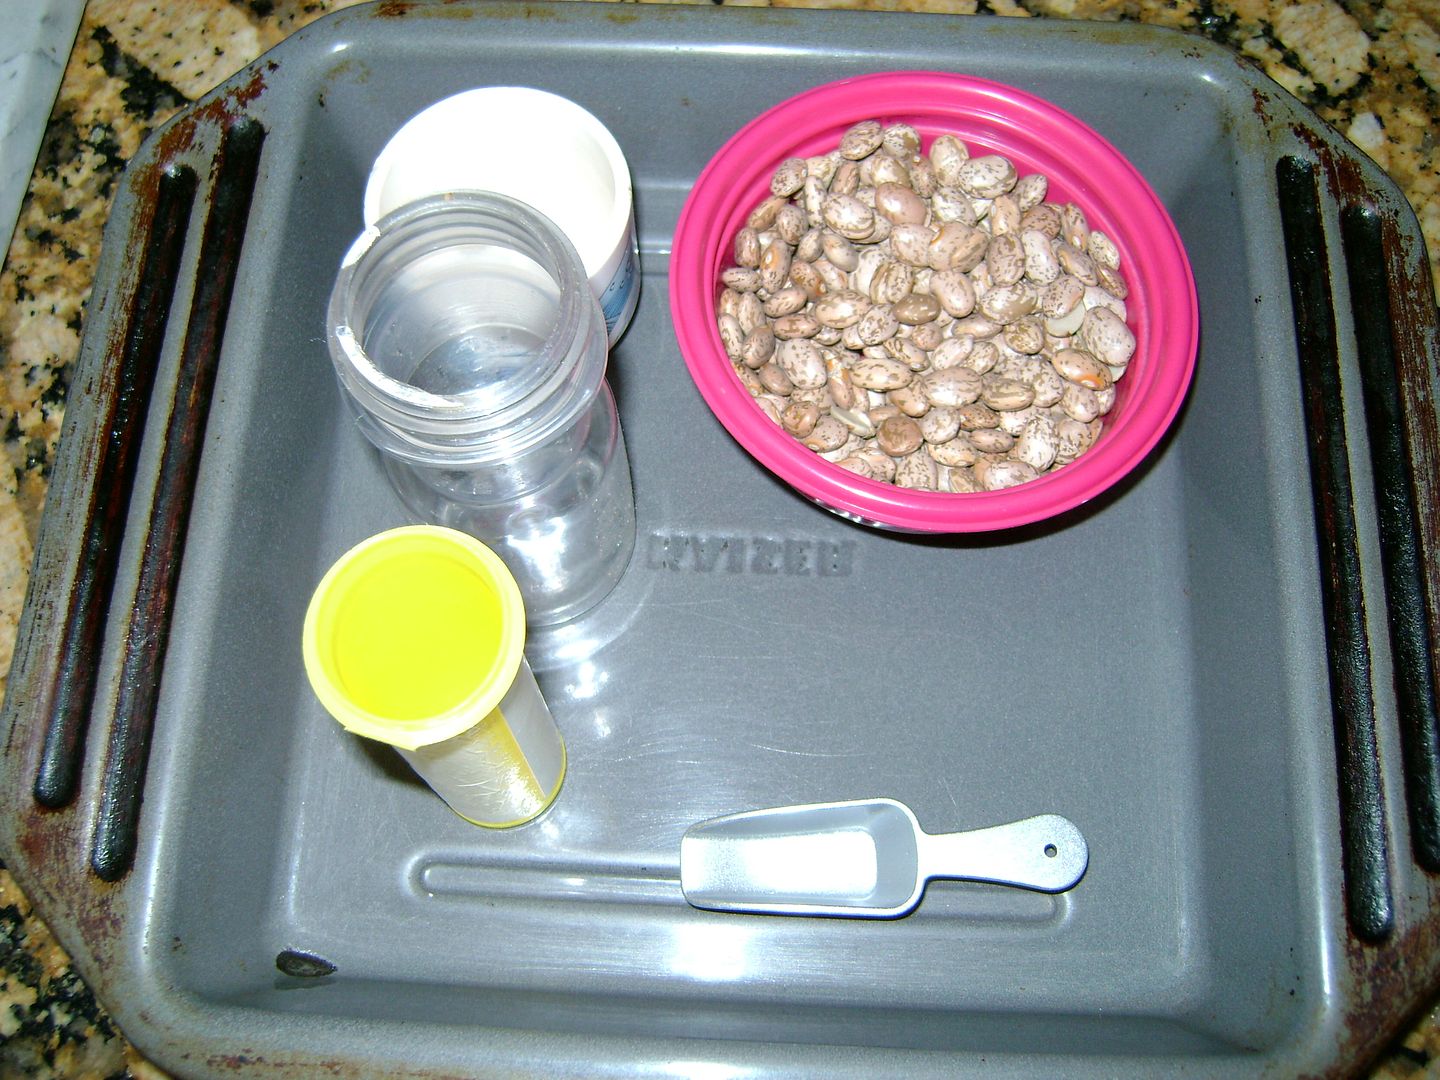
A scooping activity - bowl of beans, a mini scoop, 3 containers with different sized openings (the yellow one was the same width as the scoop). He simply scooped beans into the containers, starting with the widest to the narrowest. Each container got a little more challanging!

Tuesday, February 2, 2010

Clothes pegs


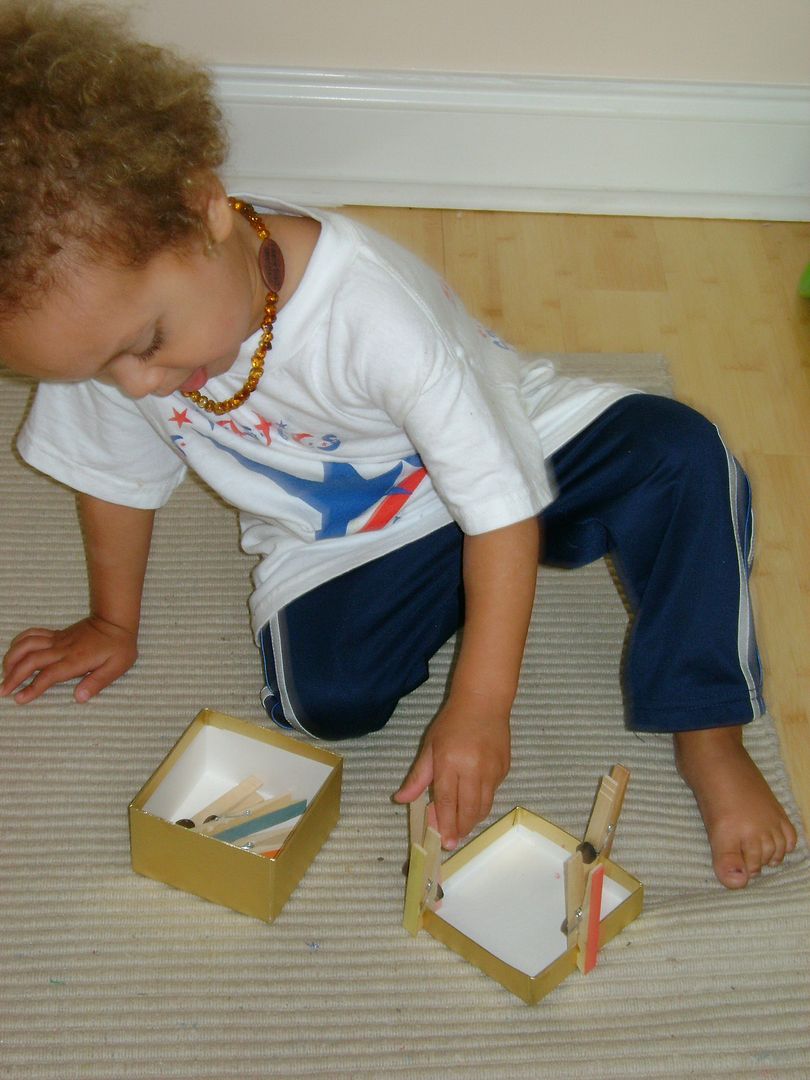
Here is another fine motor activity, this one is great for young toddlers as well.

Put the clothes-pegs around the outside of a box/basket, and let the child pinch them to put them into the basket. Then have them try and put them back on the edge!


Pom Poms

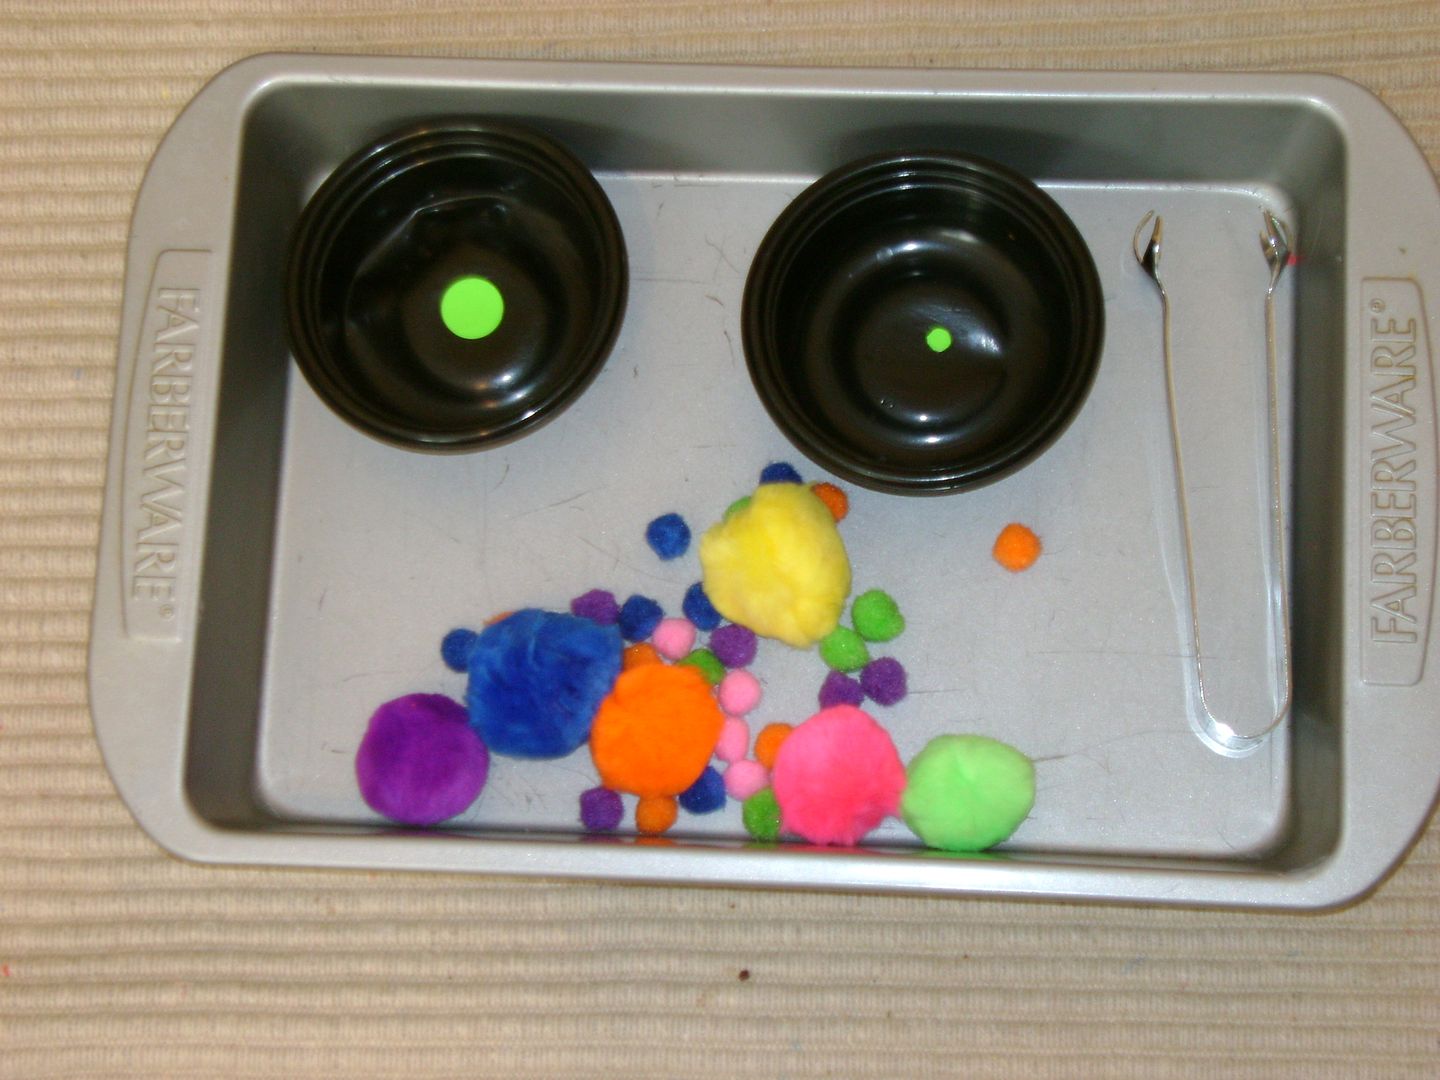
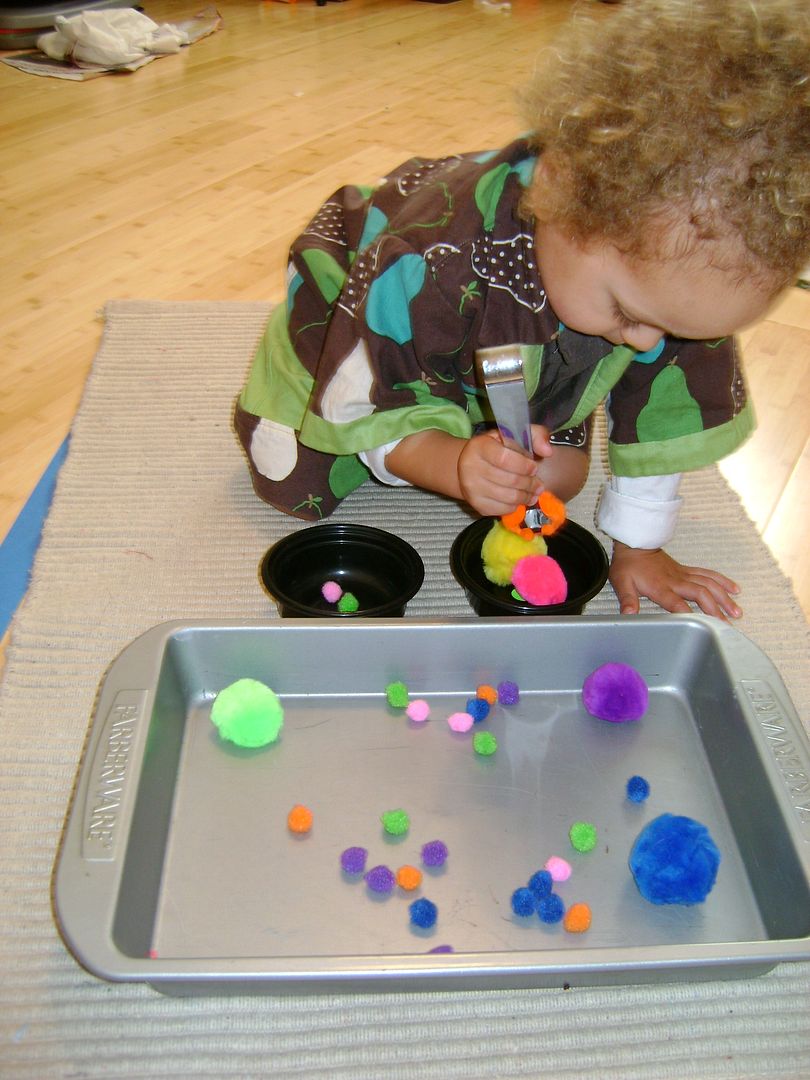
This activity is great for fine motor skills, and sorting. In this example we sorted 'big' and 'small' but you could also add 'medium' or sort by color. There are all kinds of things you could use for this activity, just whatever you have around! (we have used paper clips, buttons, toys...)
The tongs are optional, but Levi loves to use them. I marked each bowl with a 'big' dot and a 'small' dot and let Levi sort the pom pom's into the right bowls.

The set up
Levi in action

Tuesday, January 19, 2010

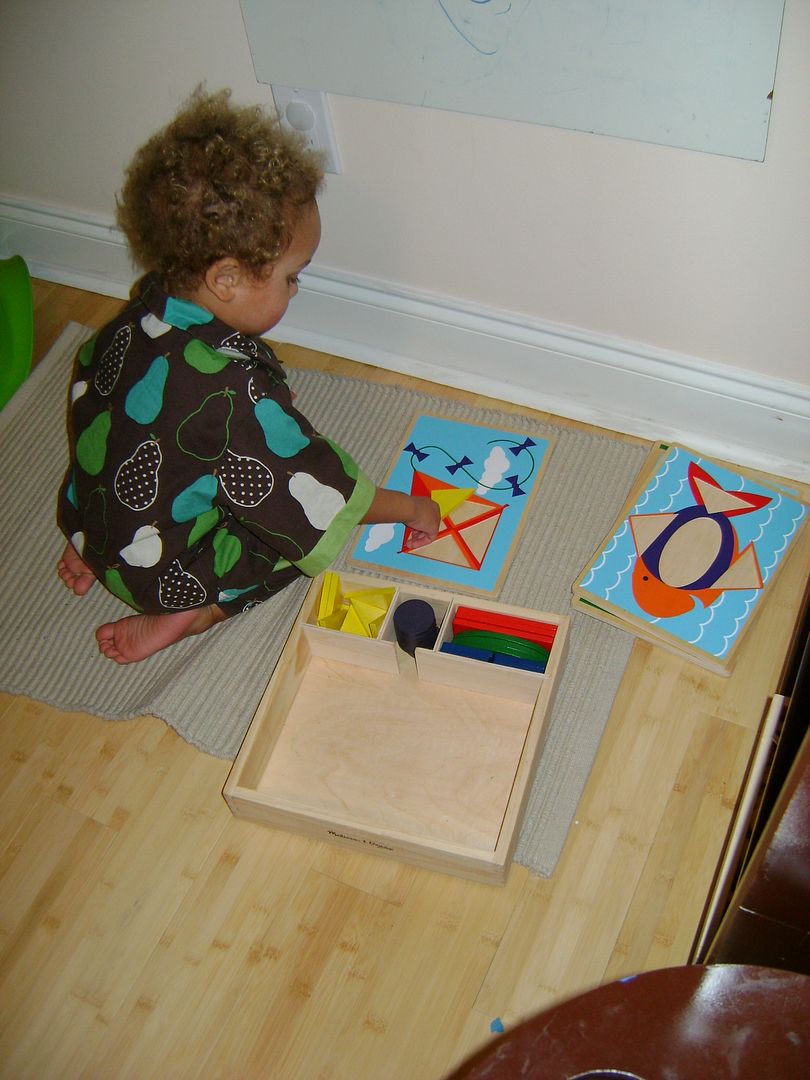
Pattern Blocks


Here Levi is working on his pattern block activity. He is contained to his little rug (I love our new bamboo floor!)

Putting the dishes away


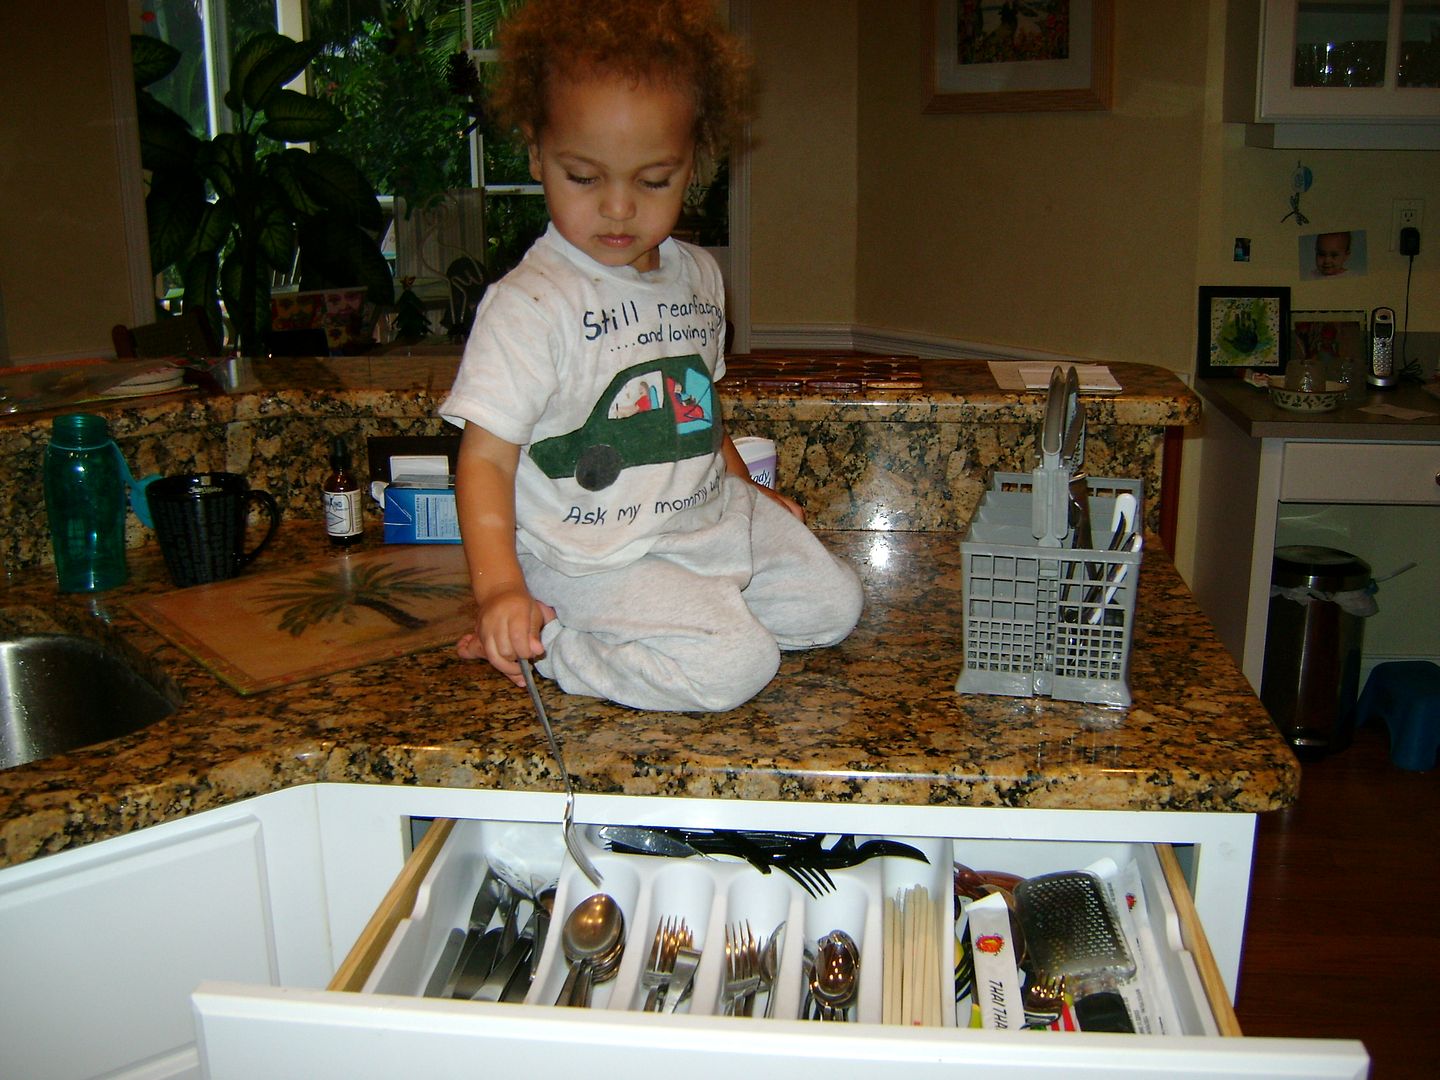
Here is Levi sorting out the utensils. I removed anything sharp, and then let him figure out what went where. Some things were placed upside-down or with the wrong size (as you can see we have 2 different sized spoons, and 2 different kinds of fork). He was able to seperate the spoons from the forks though, and it kept him entertained long enough for me to put away the cups and plates instead of trying to climb into the dishwasher!
This is a good exercise to practice sorting, plus helping out around the house (always a good thing)

Saturday, November 14, 2009

Using a Garlic Press


This activity teaches the child to do things in order (if they don’t pour the water on first, the sponges won't wring out, put it in the wrong bowl and they end up wet again!), teaches fine motor skills, and hopefully they lean to clean up!


Materials:
3 small bowls
1 small cup of water
garlic press – the basic kind is best
sponge cut into small squares that fit into the garlic press
tray w/towel on it to catch spills

What to do:
Demonstrate the procedure while the child watches, and then let them try!

Set up the tray with the towel in the bottom, 2 empty bowls, 1 bowl w/sponges in it, the garlic press and small cup of water.
the child pours the water onto the sponges
Take one sponge, put it into the press and squeeze the water into one of the empty bowls.
take the now dry sponge out and put it into the second empty bowl
Repeat until all of the sponges are dry. The water in the bowl can now be poured over the dry sponges and the process started again.
When finished, have the child put all the pieces of the activity back and clean up any spills.

Levi loves this activity and will spend forever on it, most of the time he is careful about his spills, but when he starts goofing around, its time to clean up and move on.
Friday, November 13, 2009

Heads and Butts matching game, and Introducing the Montessori mat


In Montessori, children use a rug to define their space during activities. It helps to keep the activity contained, and allows the child to focus on one activity at a time.

I chose a lightweight mat that Levi could carry on his own, that was also easy to roll up. I started by brining the mat to the workspace and unrolling it. Next, an activity is chosen and brought to the mat. Once it is complete, all of the pieces are put back on the tray, and it is returned to the shelf. When ‘school time’ is over, the mat is rolled back up and put away.


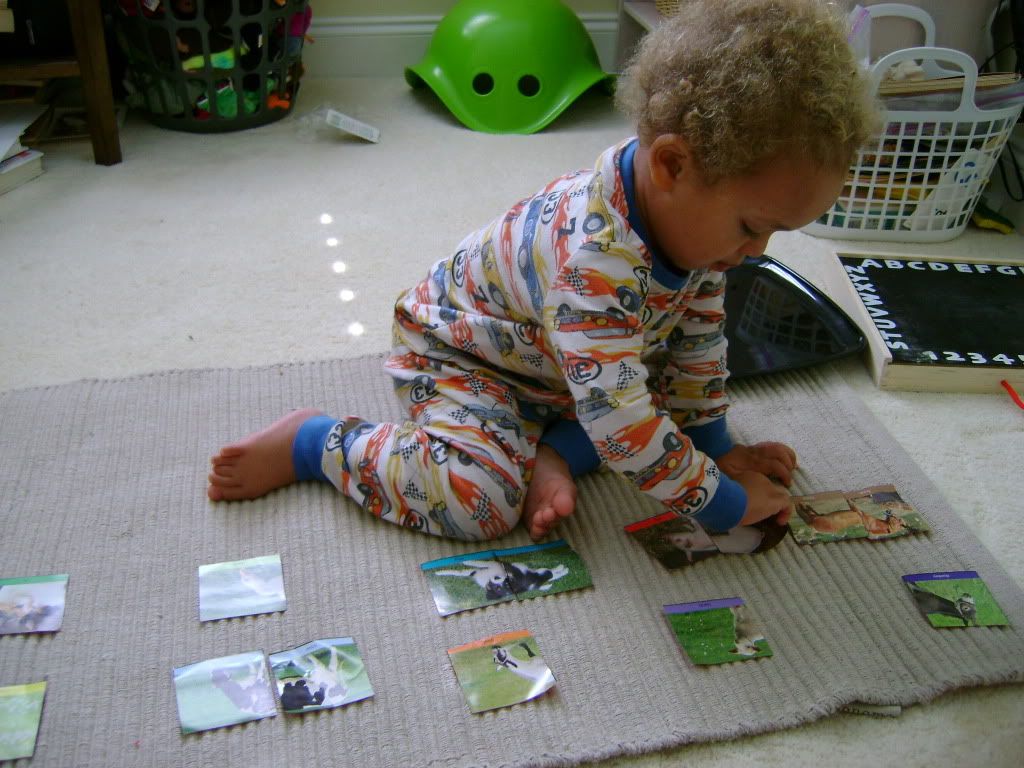
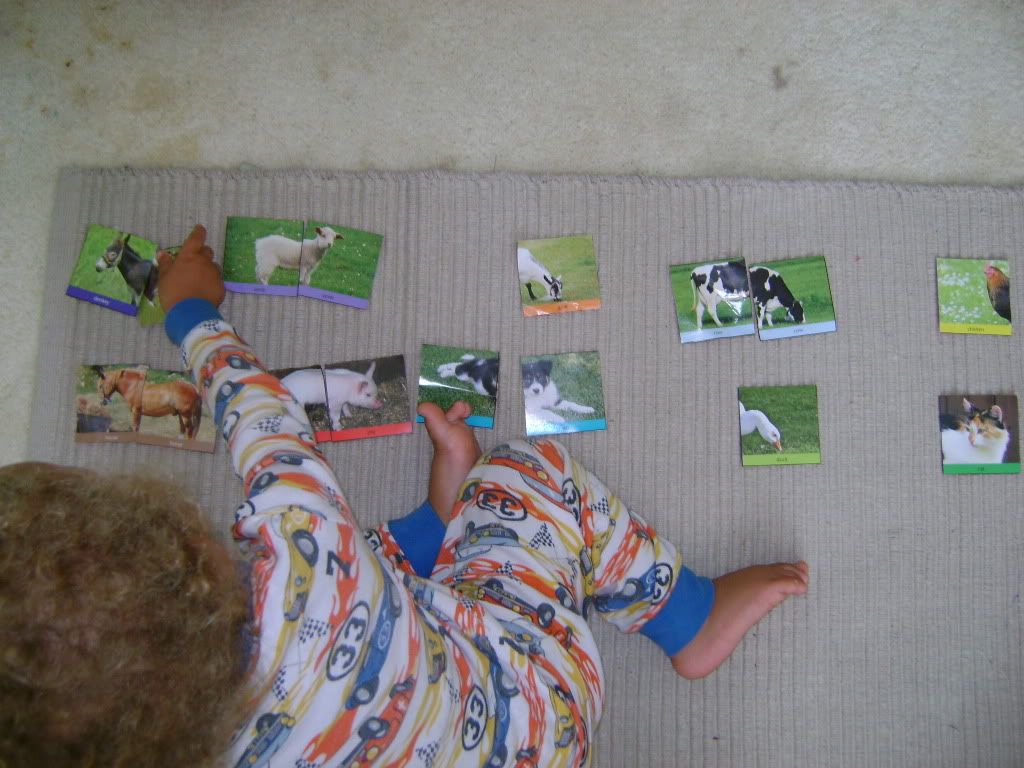
The following activity is one of the first that Levi tried on the mat. He was careful not to let any of his cards escape from his defined area.


Materials needed:
Pictures of animals, all the same size, cut in half so their heads are on one side, and the back end is on the other – it’s a good idea to laminate these, which I haven’t done yet!

What to do:

Sort the cards and lay out all of the ‘butts’ on the mat with space in-between each one.
Have the child use one ‘head’ card at a time to make matching pairs.

You can start with any number of sets, you may want to start with just a few and move on to more sets. Once they get the hang of it, you can just give them all of the cards mixed up and let them lay them out themselves.
This game can be made with other themes as well, using anything that has 2 identifiable halves.